Hand Embroidery for Beginners: Simplified
In this post you’ll learn how hand embroidery is SO beginner friendly. I’m going to simplify the whole hobby for you from the basic supplies you need, setting up your hoop, and the basic stitches you need to learn. Did you know hand embroidery is one of the cheapest hobbies out there? It’s extremely versatile and can be as simple or as intricate as you want! It’s also easy to bring it along on the go.
From adding customization to a piece of clothing, decorative monogramed towels, or creating artwork for your walls, hand embroidery has been around for a long, long time. It’s a very practical hobby and my personal favorite! The goal of this post is to simplify and demystify this art for you. And to give you the confidence you need to start embroidering your first project!
This post may include affiliate links, as an Amazon Associate I earn a small commission from qualifying purchases.
Why I love hand embroidery (and you should too!)
I don’t know about you, but I love to sit down with my sewing project and just check out. No more thinking about life’s troubles! No more worrying or overthinking. Rather, I focus on my hands, the pattern, and the stitch and embrace the mental break. I’m able to move my hands and lay aside the whirlwind of my thoughts.
At the beginning, there are stitches to learn. But even then I was able to lean in to newness and enjoy the break from the mental load of mothering. (Don’t misunderstand, I love, love, love my kids!! They’re a gift and blessing. But I am human and I get overstimulated at times.)
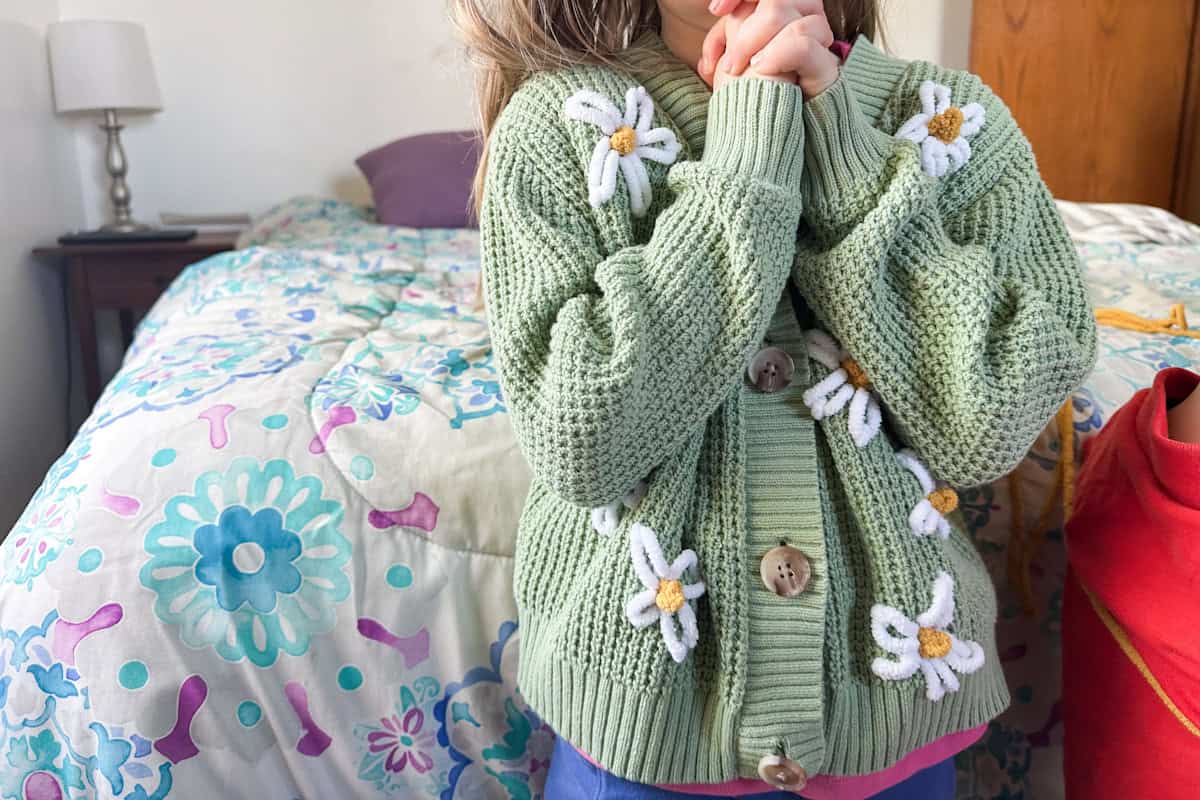
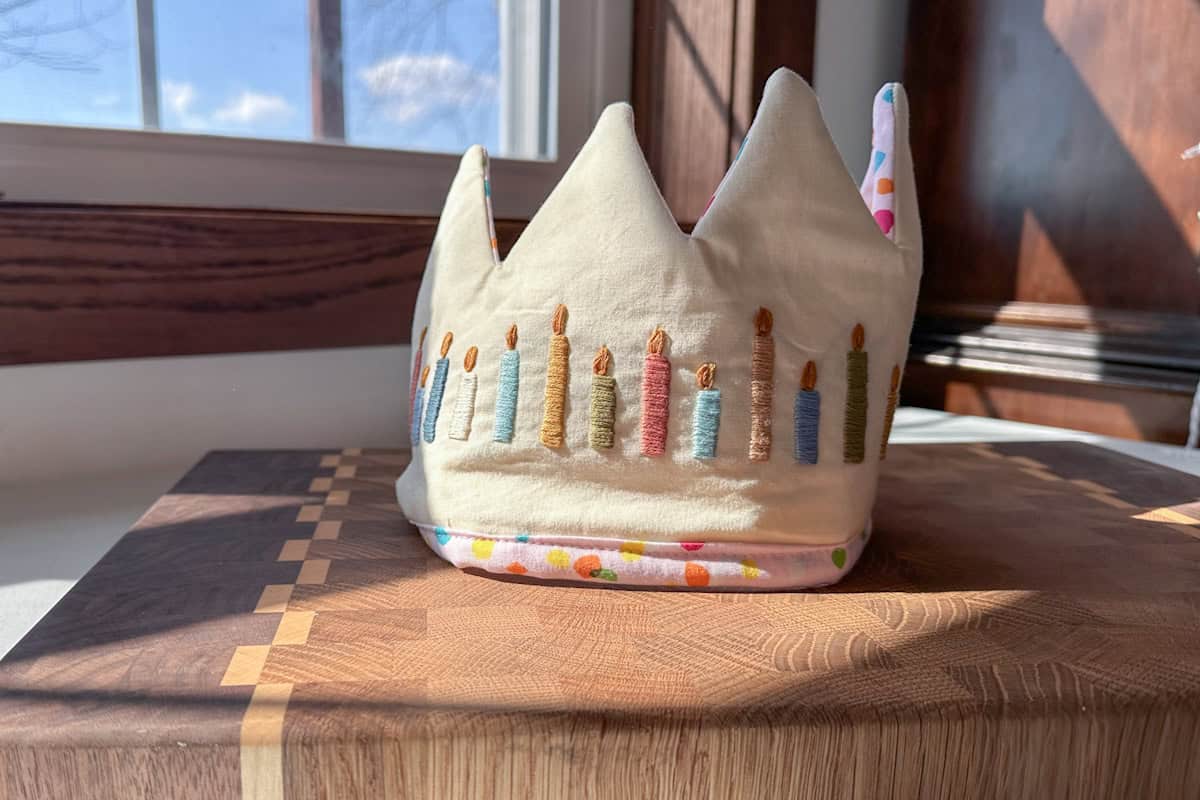
Hand embroidery simplifies homemade gifts– I love to pass on my completed projects to bring smiles to the faces of my friends. But it can also be so much more than a finished 6 inch hoop! You can hand embroider hats, sweaters, I’ve even seen some people do shoes! Hand embroidery adds elegance, beauty, and a special touch of love and care to the recipients.
Basic Supplies for Beginners
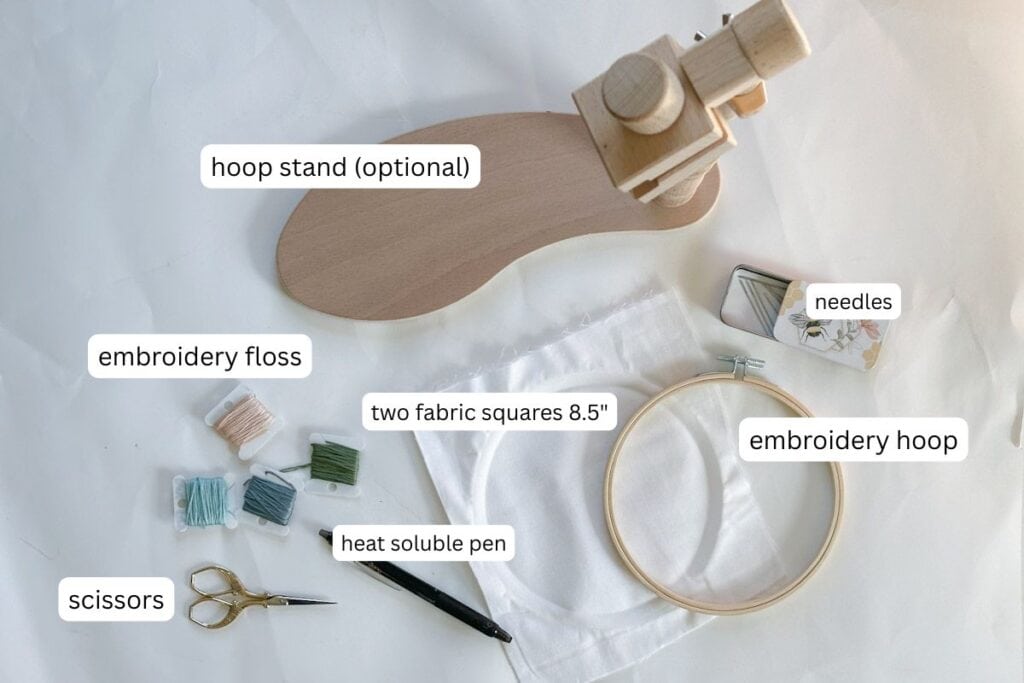
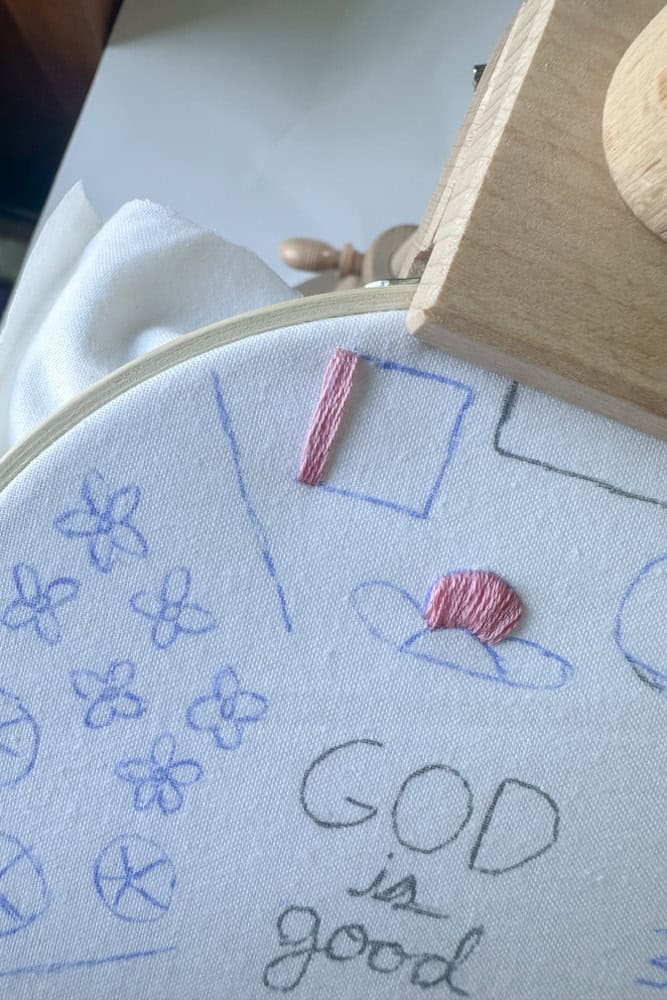
Practically speaking, you just need tightly woven fabric (100% cotton in white is my preference. Avoid textured or stretchy fabrics for your first projects.), an adjustable hoop, size 5-10 needles, a heat soluable pen (I love my Pilot frixon!) and floss (your thread). I also want to add that a hoop stand has been my best. purchase. ever. Really saves my hand and wrist!
I’d recommend choosing a pattern to start. You may even prefer a stitch sampler/practice pattern to get a feel of the common stitches used. I dove right in with a regular, beginner level pattern– a Christmas themed one, and it was so fun. Choose something that makes you feel excited or confident.
There are options when it comes to patterns. Big box stores offer embroidery kits, which has everything you need from floss to a hoop to needles. Alternatively, you can buy a digital pattern and go into a store to purchase your own supplies, which to me is most of the fun! However, if you are a homebody you can also purchase prepackaged kits from creators such as Abide Embroidery, Elly and Grace, or others on Etsy and have it all shipped to your door. If you opt to browse patterns on Etsy, be wary of AI patterns that aren’t realistic.
Transferring Your Pattern
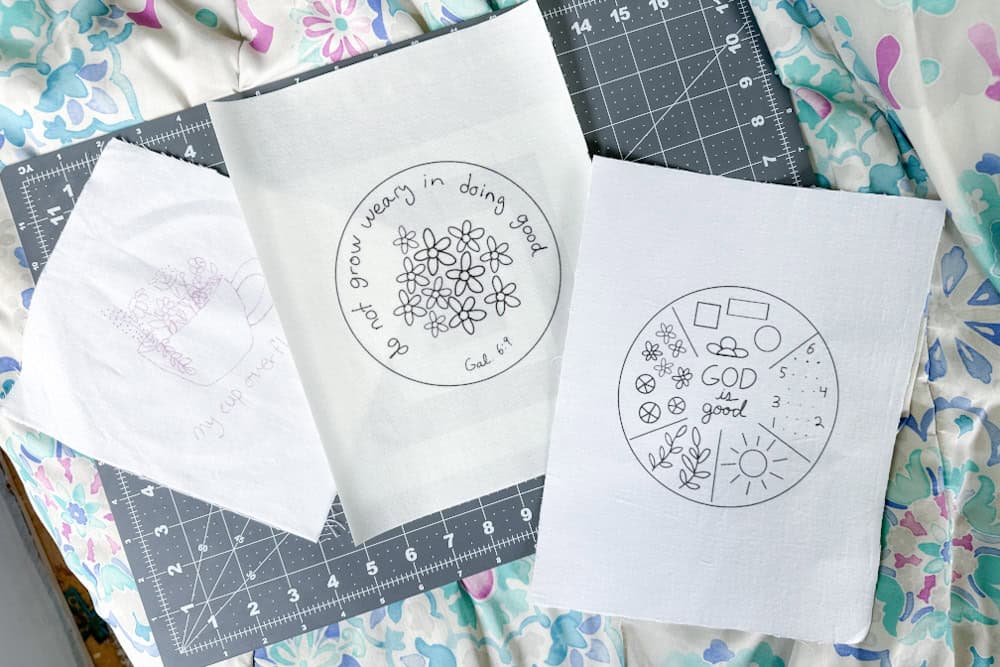
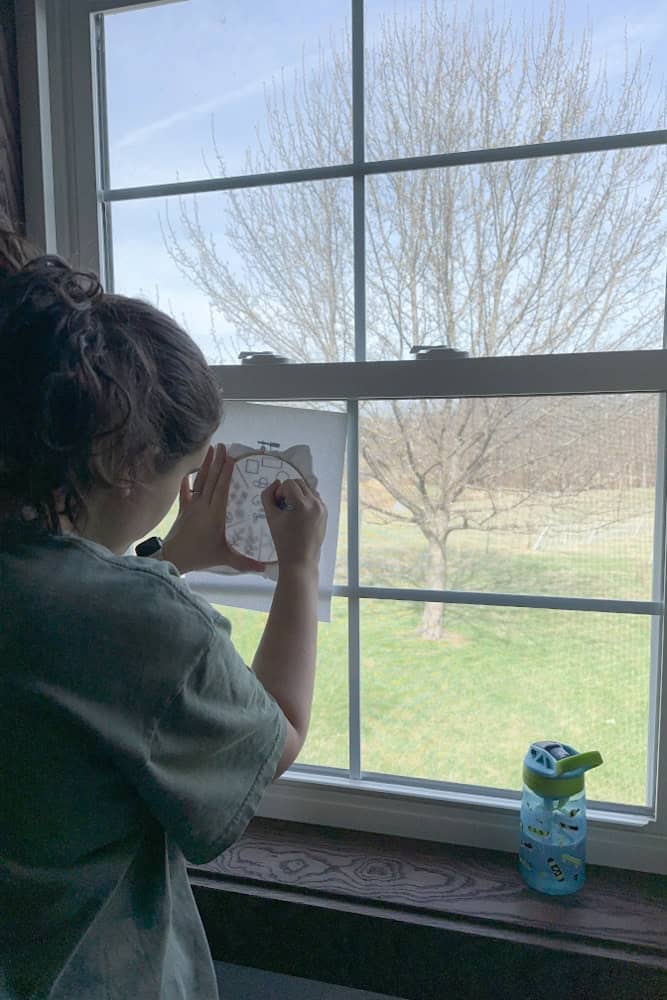
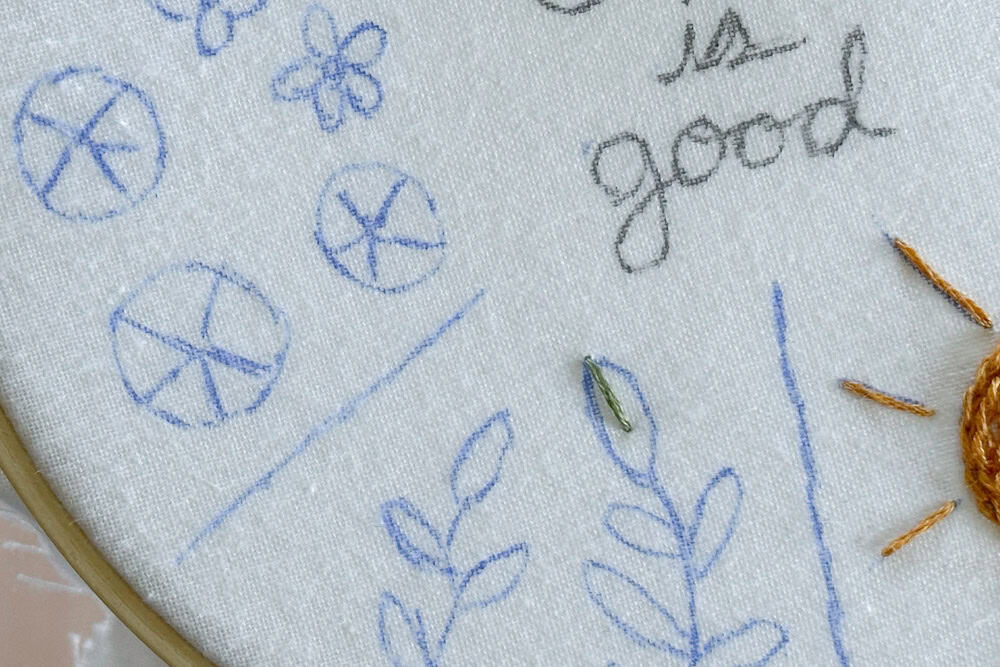
If you opt for a digital pattern, you’ll need to transfer that pattern to your fabric. There are three ways this can be done, though the method may differ depending on the pattern or your specific needs.
The first way is to use a heat or water soluble pen and trace the pattern onto your fabric. You can use a window or a light box, I’ve done it both ways and the light box is easier on the arms but in a pinch the window is fine! Do take your time tracing, especially if you’ll be using a satin stitch. Some note that the ink will not fully disappear but in my experience it hasn’t been an issue– especially since I have primarily worked with white fabric.
The second way is to print directly onto your fabric. (I’m currently writing a full post describing all these methods, check back for an updated post!) For this method, you’ll use an Avery shipping label to attach your fabric and then run it through the printer like normal. The catch here is that you must cover the lines with your stitches because they will not disappear.
The third way is to print directly onto a water soluble stick and stitch. (I’ve never done this, but I will be testing it.) Similarly to printing onto your fabric you’ll run the stabilizer through the printer then cut to size and apply to your fabric.
Setting Up Your Hoop
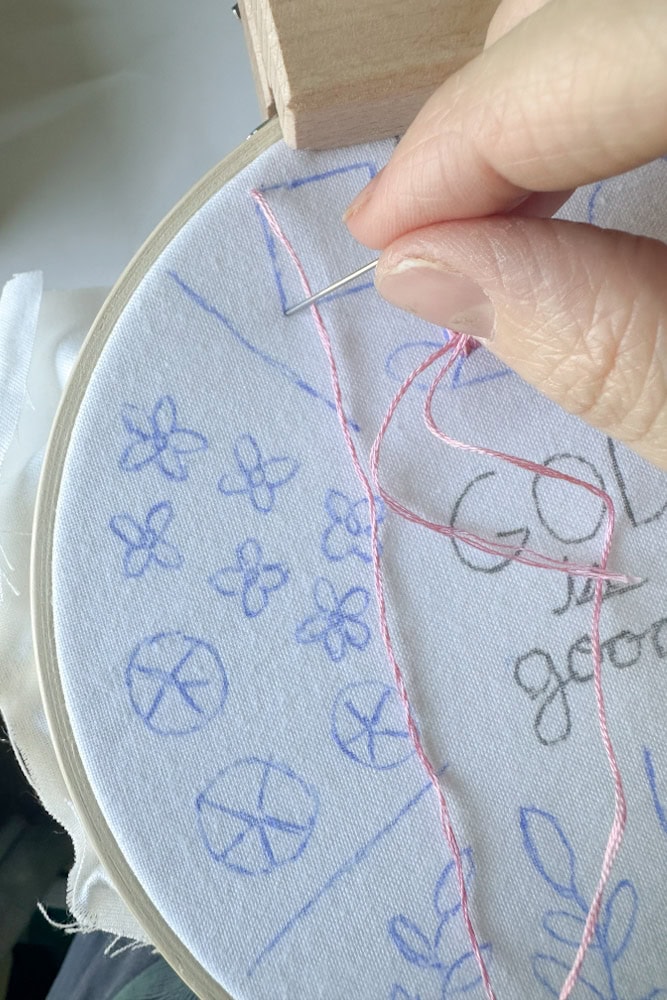
Now that your pattern is ready you can set your hoop up for stitching! I like to use two pieces of fabric to add stability to my stitching. Start by loosening the screw on your hoop, taking the center piece out and laying your fabric on top. Line up your pattern with the inside of the hoop and then place the outer circle on top. You’ll need to slowly tighten your screw and pause periodically to tighten your fabric, keeping everything tight.
You’ll know it’s ready to go when it sounds like a drum when you tap on it. It is completely normal for the fabric to loosen as you stitch. I regularly tug on the edges on all sides and tighten as I go. This will help prevent saggy fabric and give you a polished finished look at the end.
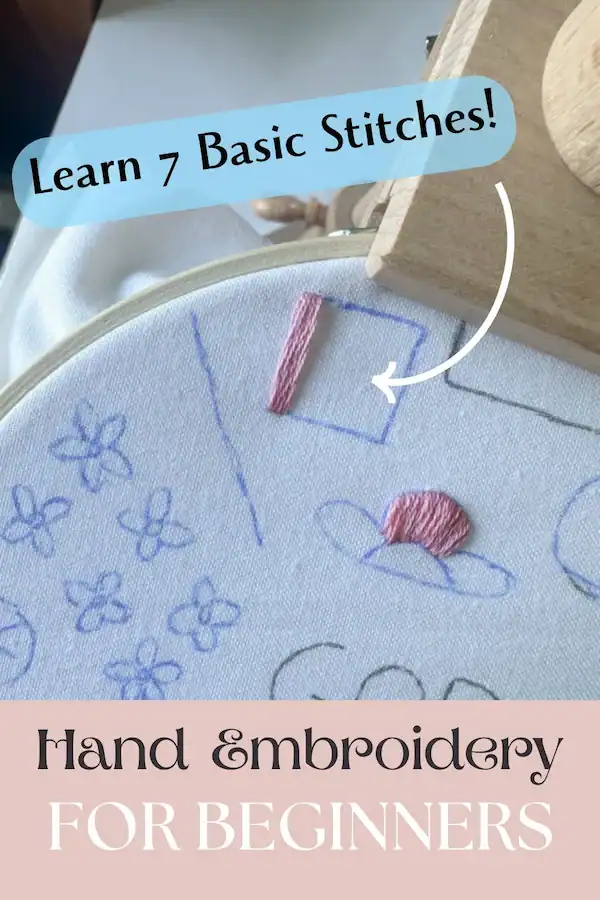
7 Basic Stitches
Hand embroidery has many different stitches but I’ve boiled down the seven most common ones into this section. If you’re more visual, check back here soon. I’m in the process of editing YouTube videos!
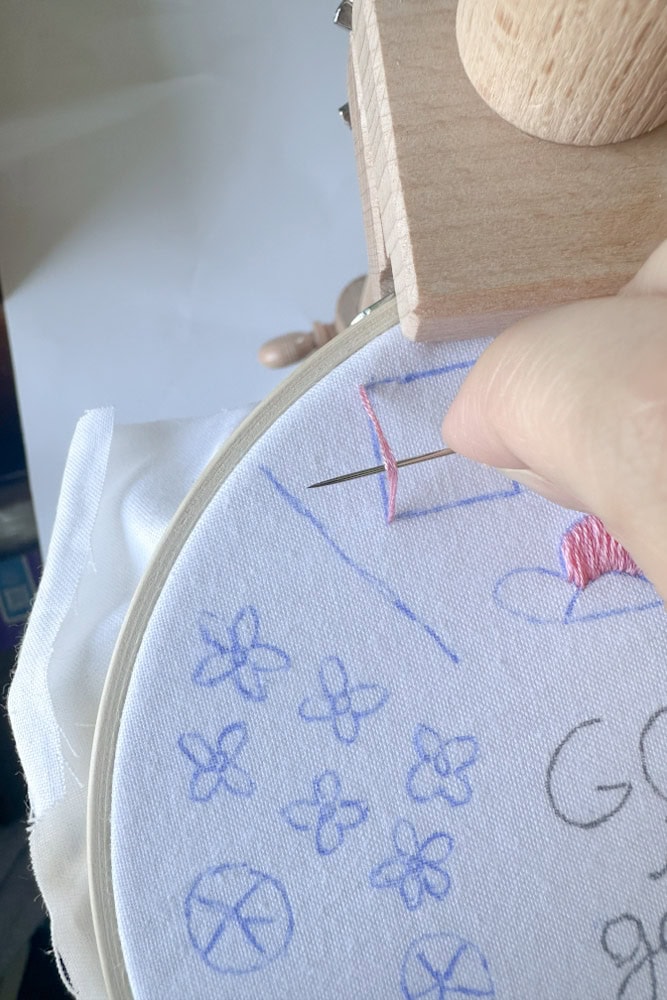
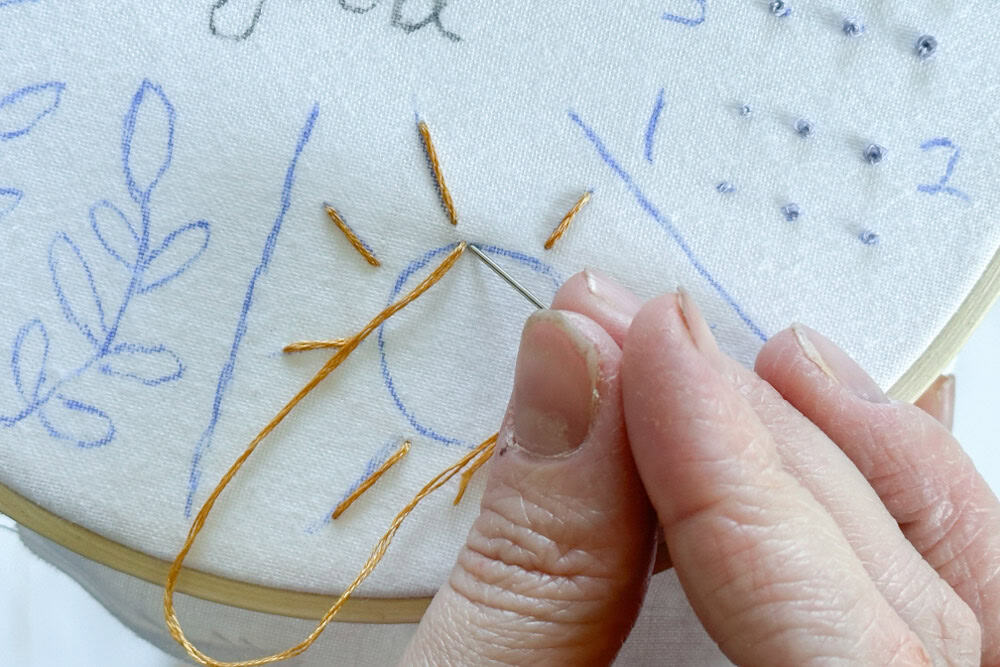
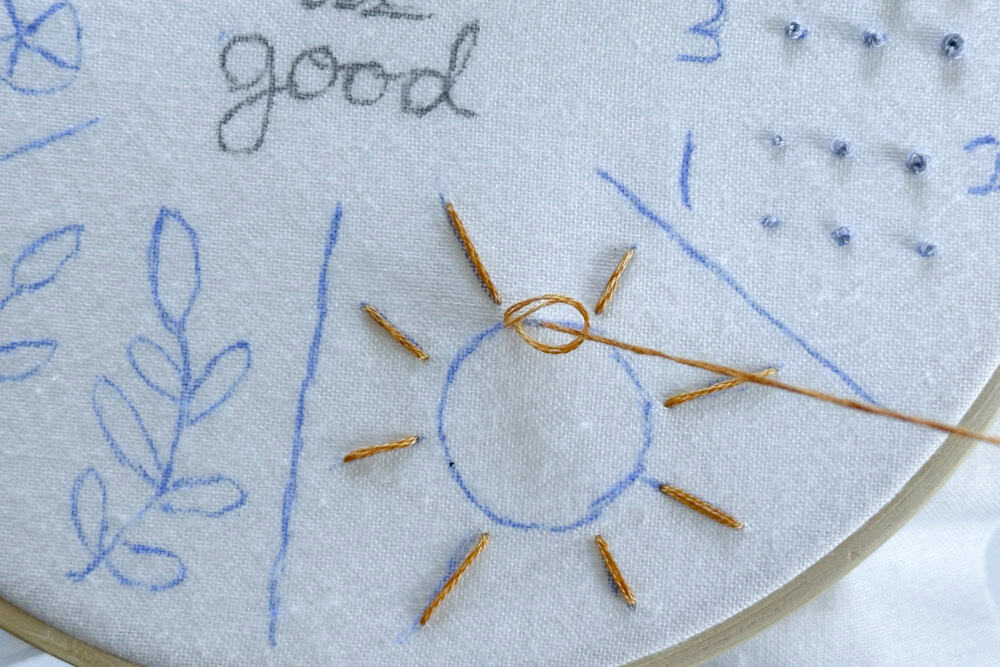
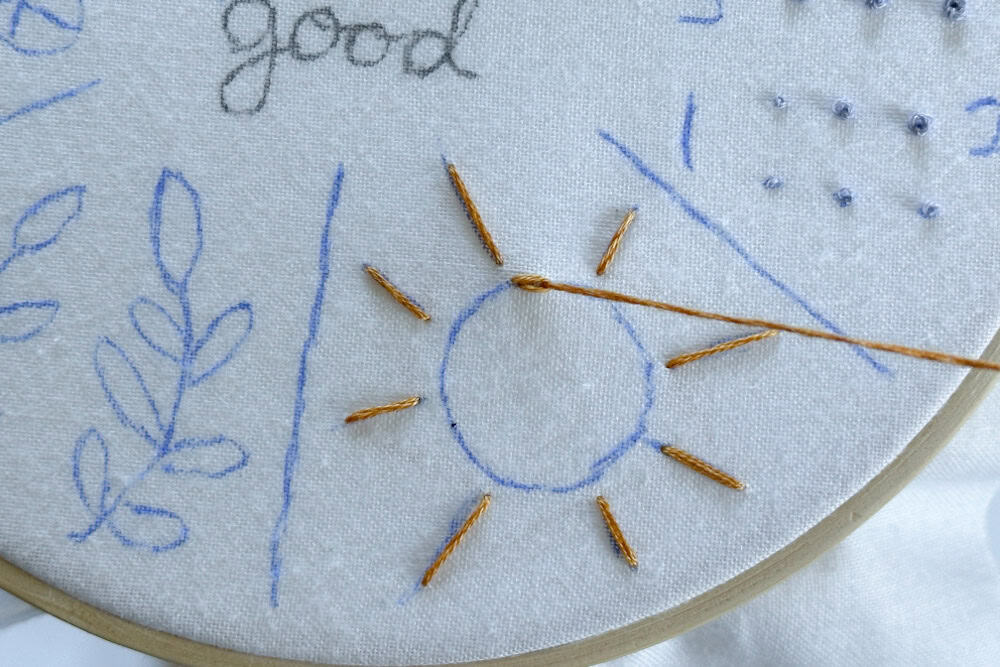
- Back stitch. The name is self explanatory. You start a little further into a line and stitch back easy-peasy into the previous hole.
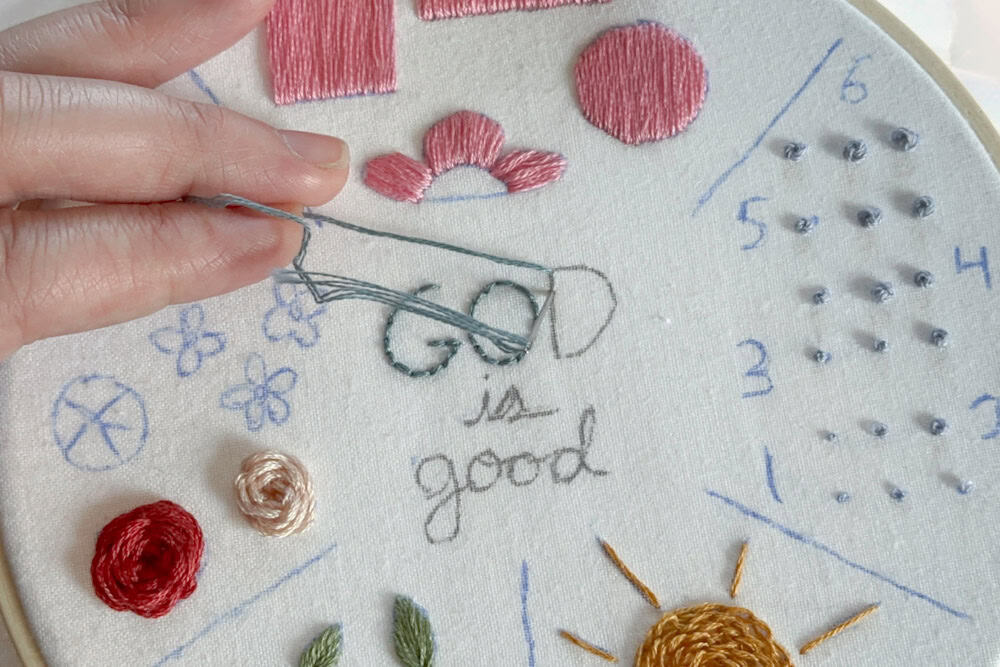
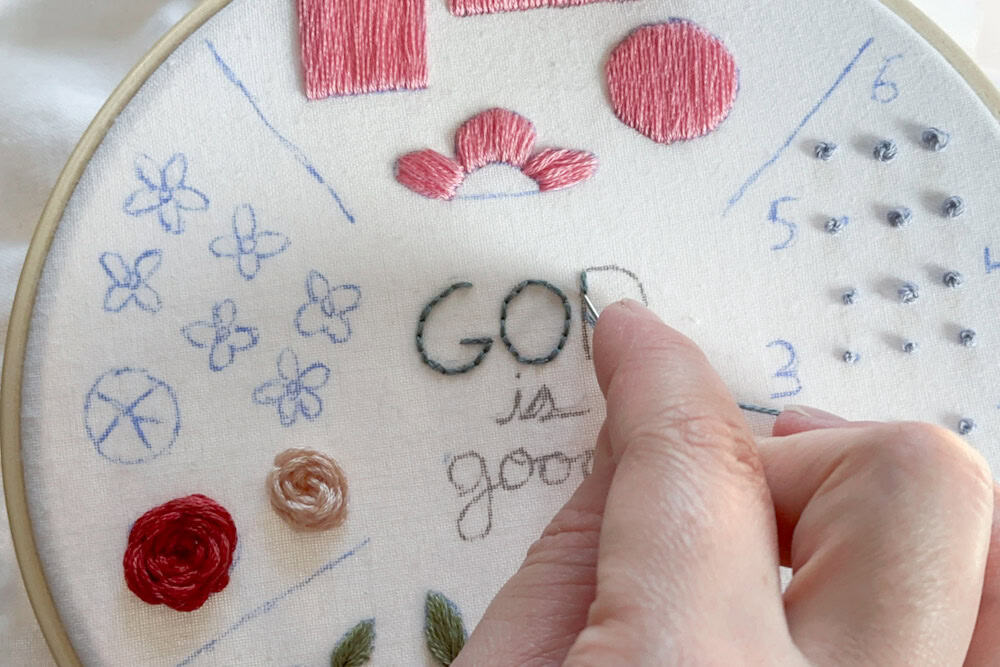
2. Back split stitch. This stitch is just like the above with one differentiating factor: instead of returning to the previous hole, you will be splitting the floss. See the picture below.
3. Satin stitch. This stitch takes some practice to make perfect, don’t be discouraged! It’s simple and can be beautiful with some simple tricks. To make a satin stitch, you’re essentially making straight lines. Before you pull your floss all the way through, gently work your needle to and fro to smooth it out. It depends on what I’m making with my satin stitch, but I find it easier to work from the middle out rather than side to side. The direction of your floss also will depend on what you’re stitching, but this information should be in your pattern or the example piece!
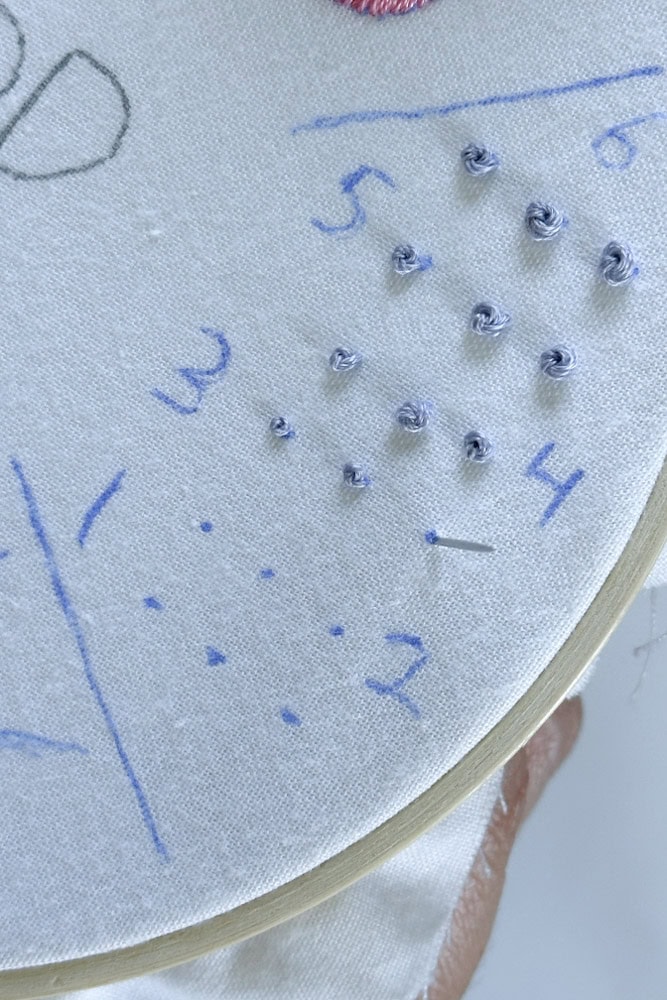
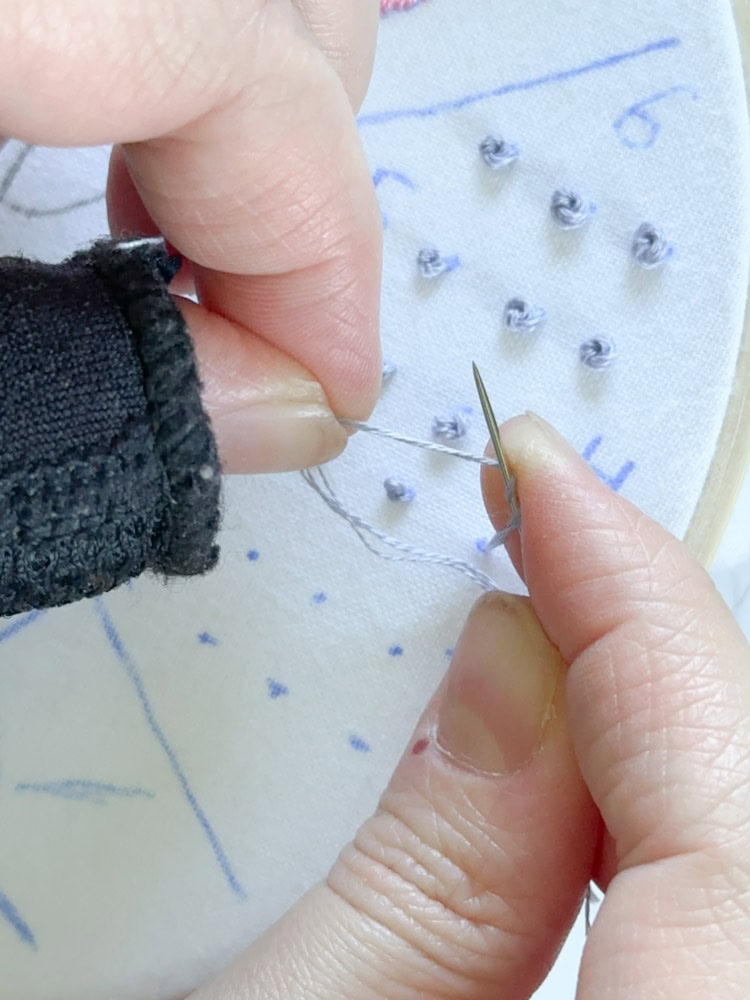
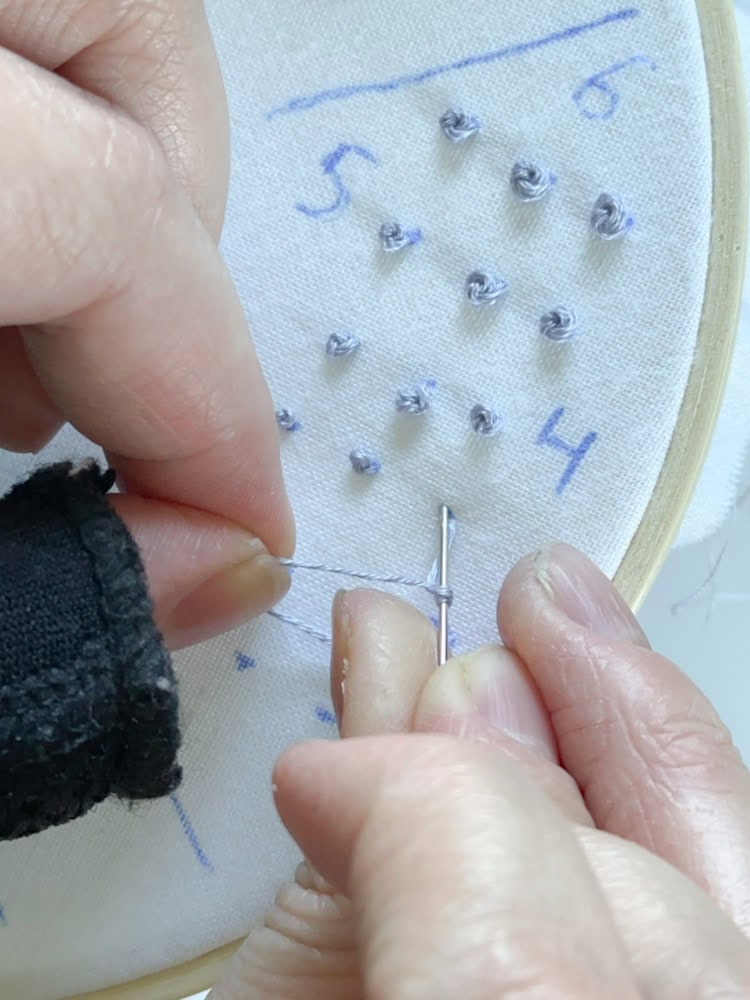
4. French knots. This stitch has a reputation for being a pain, but trust me when I say you cannot rush these! Nor should you cut too long a strand! Too long a strand and trying to rush the process will guarantee a knotty mess. To make a french knot, you’re going to wrap your floss around your needle according to the pattern instructions. Two to three times is common! Then you will insert your needle close to your starting point and, gently hang onto your floss as you pull the needle through– just slight tension. Take your time with this step so it doesn’t become knotted too early.
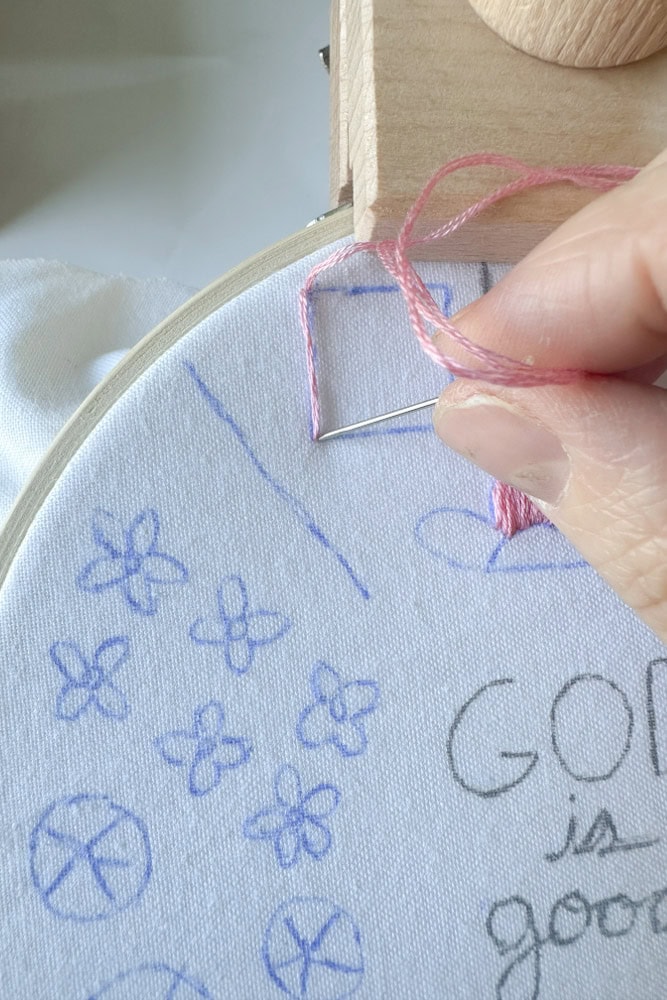
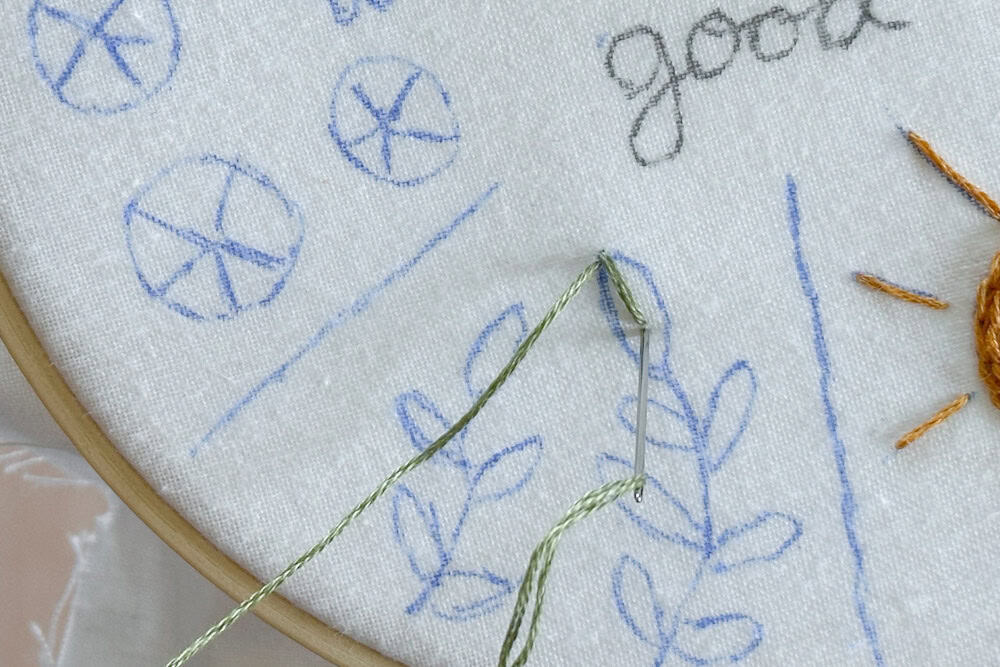
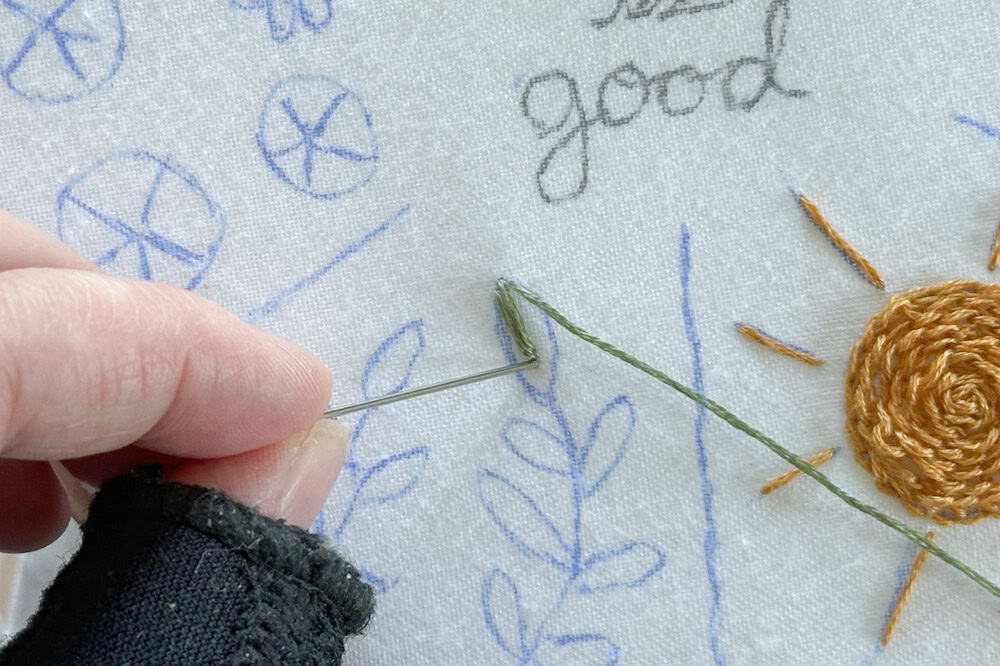
5. Chain stitch. This stitch isn’t too complicated and bears the look of its name: a chain. You pull your needle through the fabric and reinsert close by, but don’t pull your floss all the way through. Keep a small loop! Then, bring up your needle to wherever you want your chain to sized and pull your needle through the loop. Now you can bring it all the way through. Then, you rinse and repeat. See the pictures below!

6. Stem stitch. This is a favorite of mine for flowers or even eucalyptus branches. It leaves such a pretty texture. Similarly to other stitches we’ve discussed you’re going to make a small stitch and keep a small loop from going through. You’re going to bring your needle back up about the middle of your stitch length, always bringing it to the same side for consistency, and then pull your floss flat. Repeat.
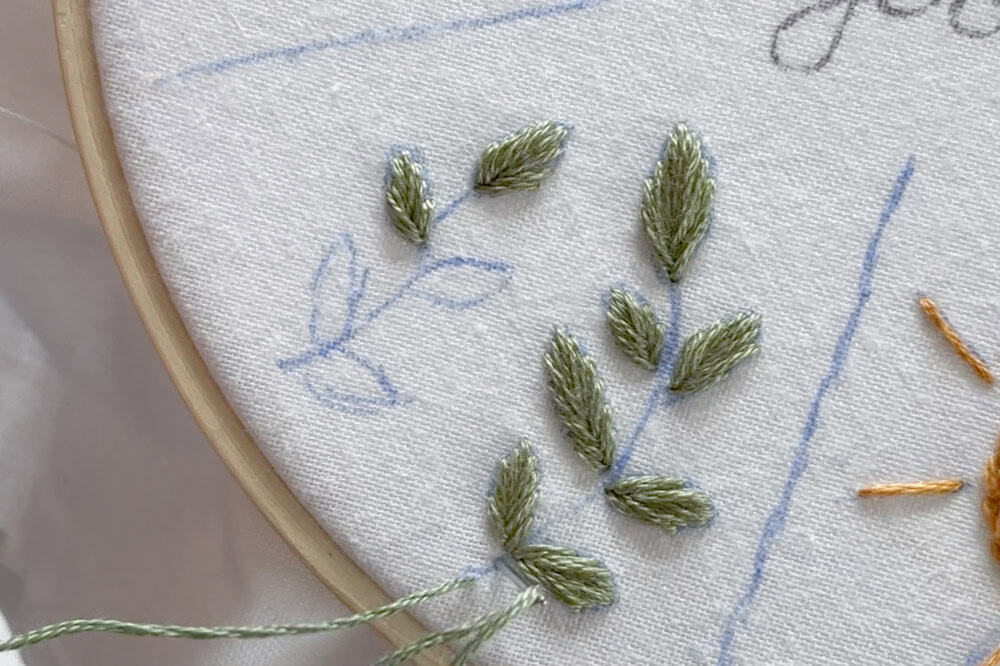
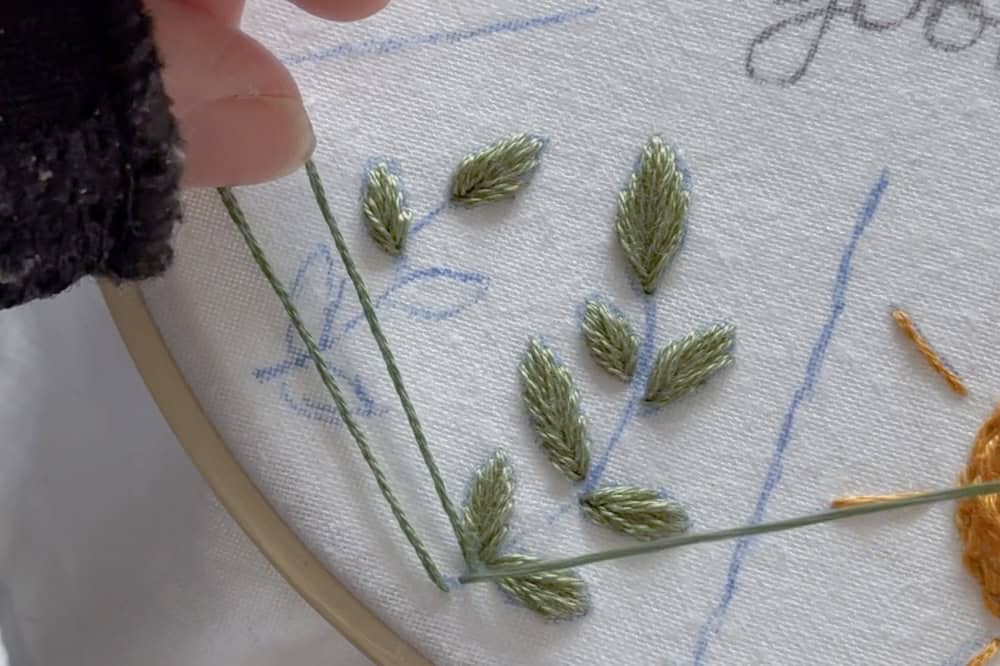
7. Fishbone stitch. This stitch is often used for leaves! It seems tricky at first glance, but it’s simple. You start at the tip of your leaf, and put your needle back down about two-thirds of the way. Then, alternating left and right, you bring the needle up by the tip and put it down beneath that stitch. See the picture below!
Reading your pattern
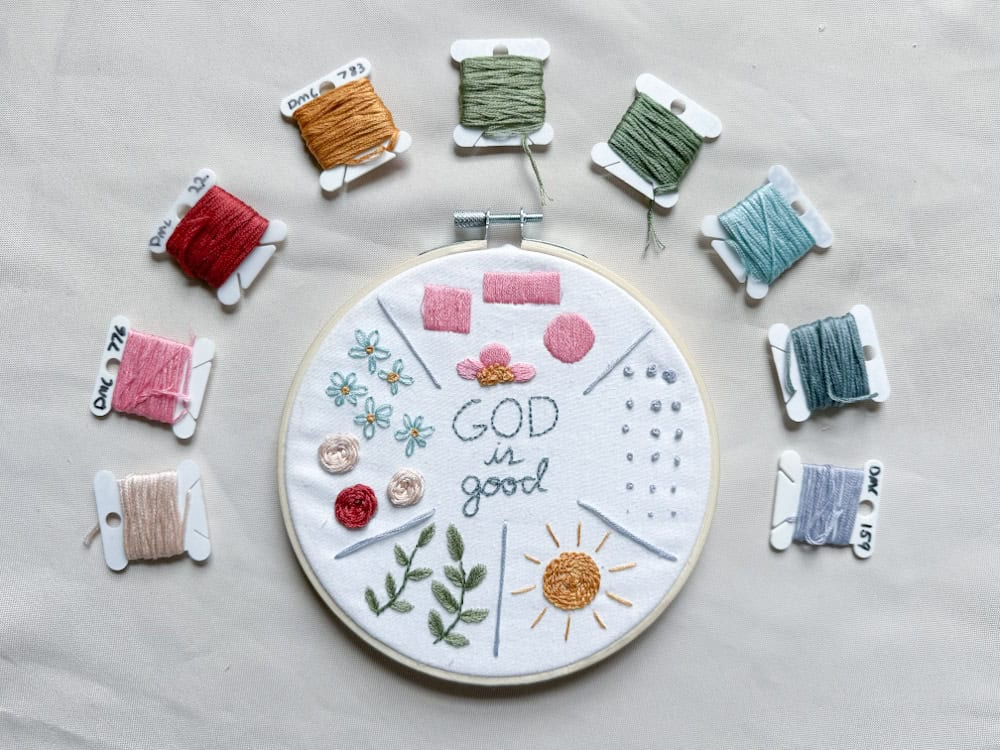
Each creator is going to have their own style within their pattern, but some basics should be common: the pattern for you to trace onto fabric, and a stitch guide telling you what colors, how many strands, and which stitch you’re going to be using. They also may recommend an order to your stitching.
But wait, let’s back up a minute. How many strands of what?
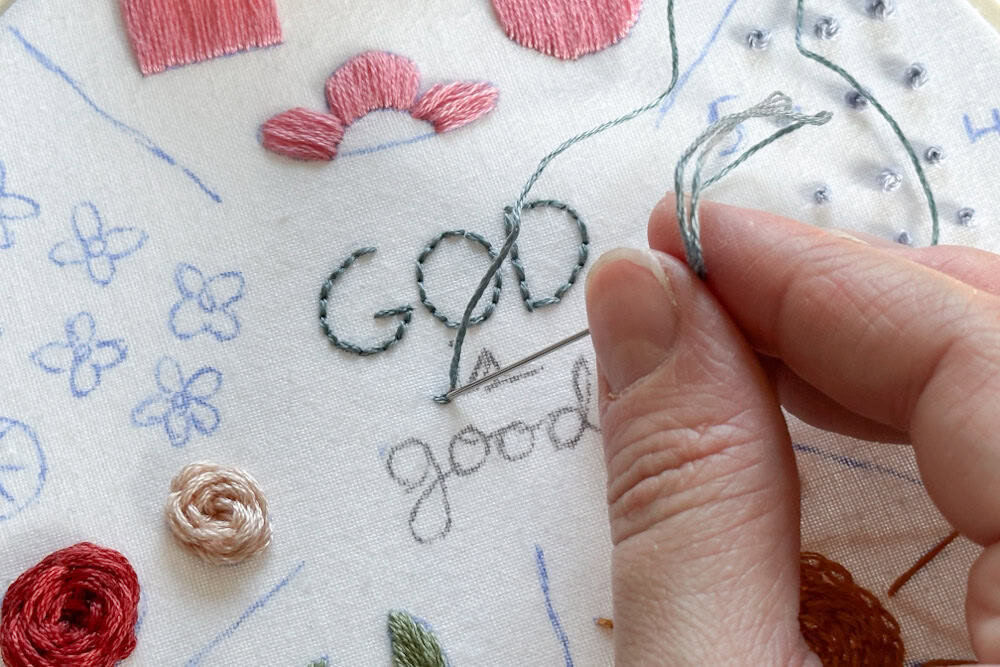
Your embroidery floss comes from the store wound in six strands. Most of the time, you will be cutting an arm length portion and then dividing those strands according to what you need. More delicate details will have fewer strands, while more robust features like text may call for more.
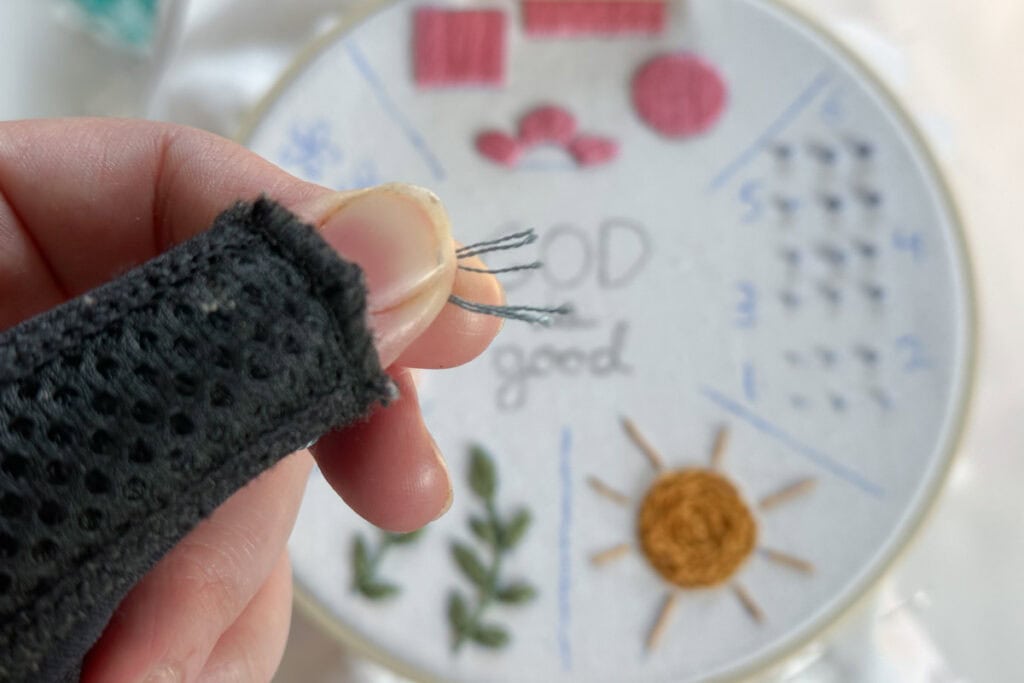
Gently pull apart the strands as shown above, use your finger to separate the strands you need and hold. Use your other hand to gently pull off the unwanted strands.
Beginner Hand Embroidery Ideas
Once you’ve finished your project, now what? Here’s a couple of ideas for you!
- picture holder (You can stitch a frame to slip a polaroid into! So cool.)
- artwork for your walls/space (My go-to)
- Handmade gift for a friend (Another go-to of mine.)
- Adding a personalized flourish to hand towels, pillow covers, aprons, or more!
- Custom touch to sweaters, hats, or jeans. See my Pinterest board here.
The greater purpose of hand embroidery
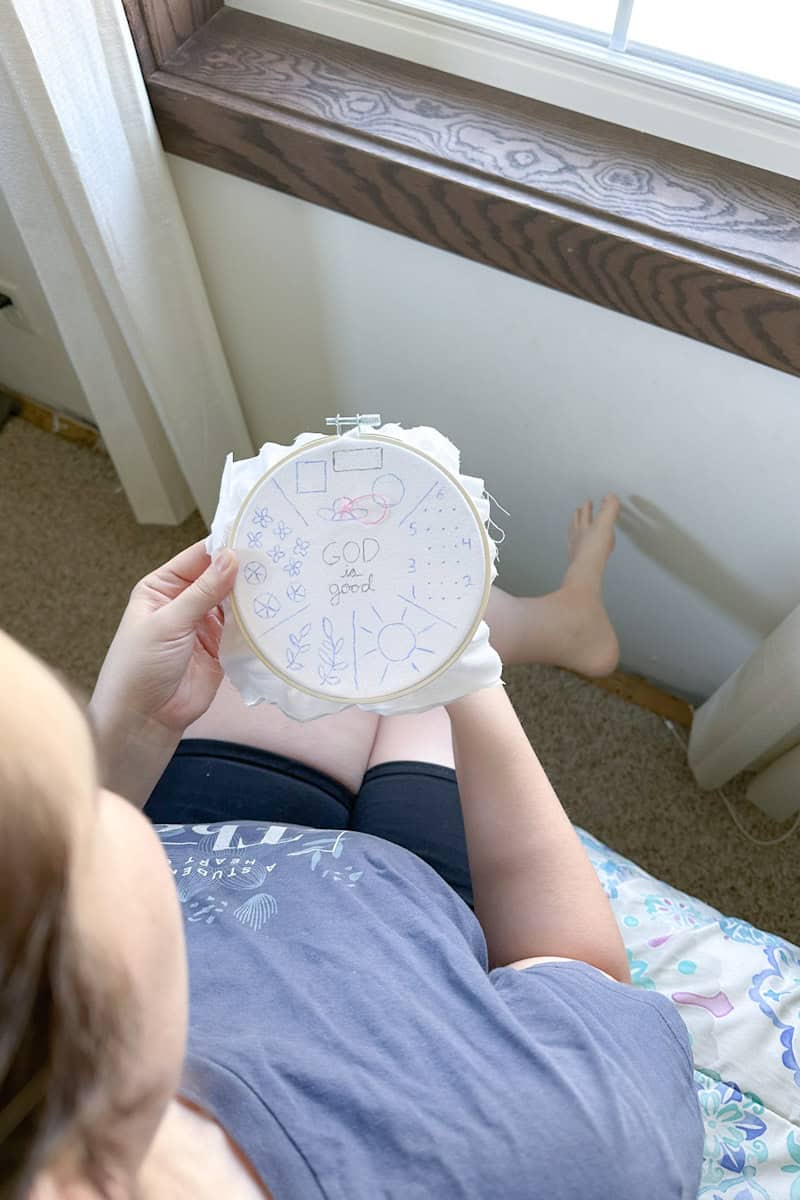
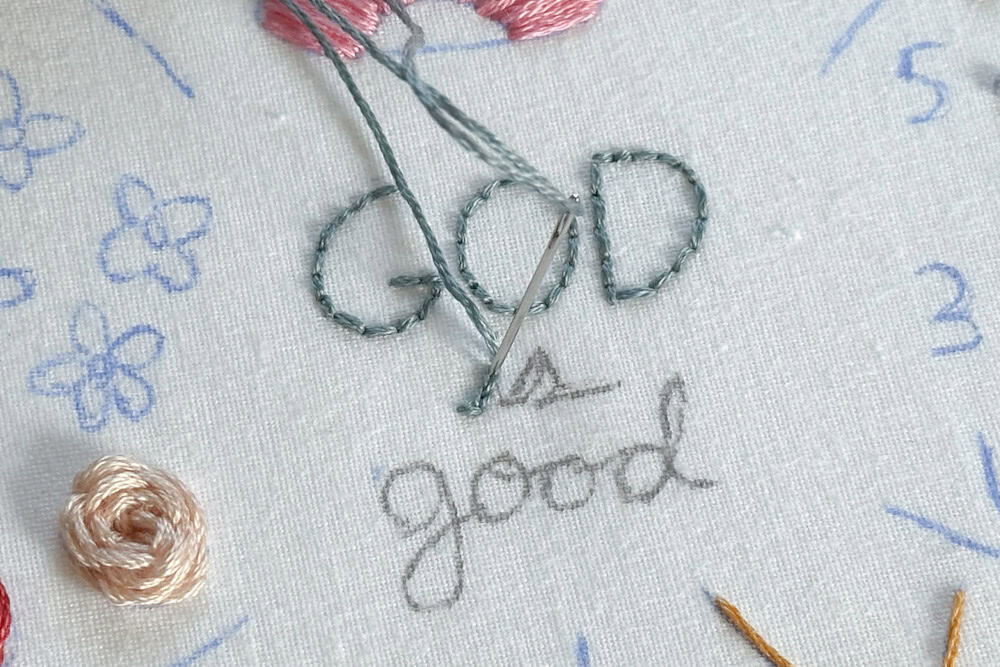
It is my hope that I simplified hand embroidery for you today, but there’s a greater purpose to this art for me. I love slowing down and stitching the Word of God specifically. It causes me to really meditate on the verse or words from a hymn and pray. This time spent thinking and praying really restores me.
Every mom should have a hobby or an outlet to pour out creative energy! We are on the go from the minute our kids are awake and we’re up at night with them too. This is a wonderful chance to practice slowing down and refilling our cup, which is usually running on empty.
Coming soon is the pattern you see me stitching in this post! It will be free, and I am so excited to bring it to you to help you start stitching. 😉
Here on Sewn and Sprouted you’ll find me either baking with sourdough, working in the garden, or sewing something new. I also offer a weekly newsletter with exclusive tutorials, recipes, and more. Stick around and join me!