How to Start Sewing in 7 Easy Steps
This post may contain affiliate links, as an Amazon Associate I earn from qualifying purchases.
Learn the seven steps how to start sewing with your newly purchased sewing machine and begin sewing your first project. This post walks you through the following:

New to sewing? Or seasoned sewist?
Did you grow up dabbling with your mom’s sewing machine or are you a complete newbie? Either way, you’re in the right place. After around twenty years, I bought my first adult sewing machine and I’m diving back into sewing as practically a beginner or a very rusty sewist! As we walk together through the steps, I’ll also share with you the mistakes I made on my first project and how YOU can avoid them. Ready? Let’s go.
Step one: Pick a project.
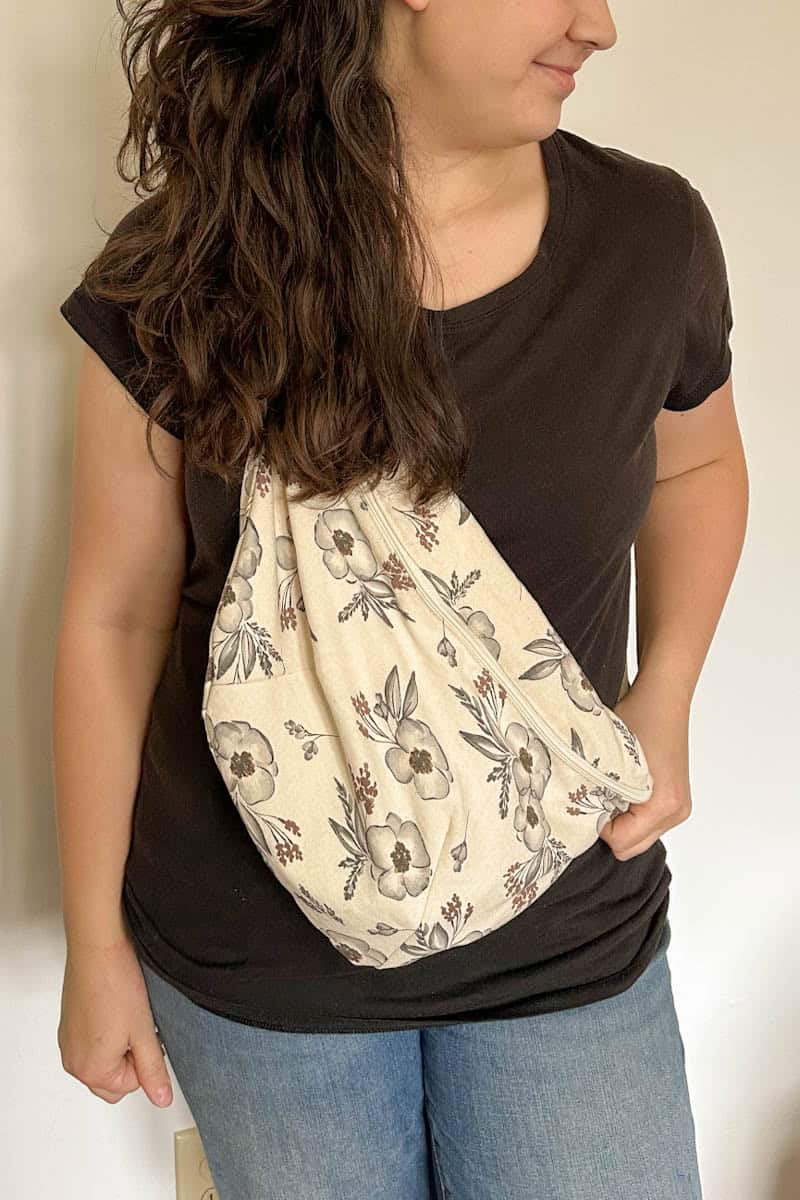
Ideally something that inspires you and excites you! I have several projects in mind, but the one I was most excited about was a crossbody bag. In the future, I have 18″ doll clothes (for my daughter), Christmas stockings, and more in mind. There are lots of friendly beginner projects out there, such as aprons, pillow covers, a bag, etc. Purchase your pattern of choice and move on to the next step!
Step two: Picking a sewing machine!
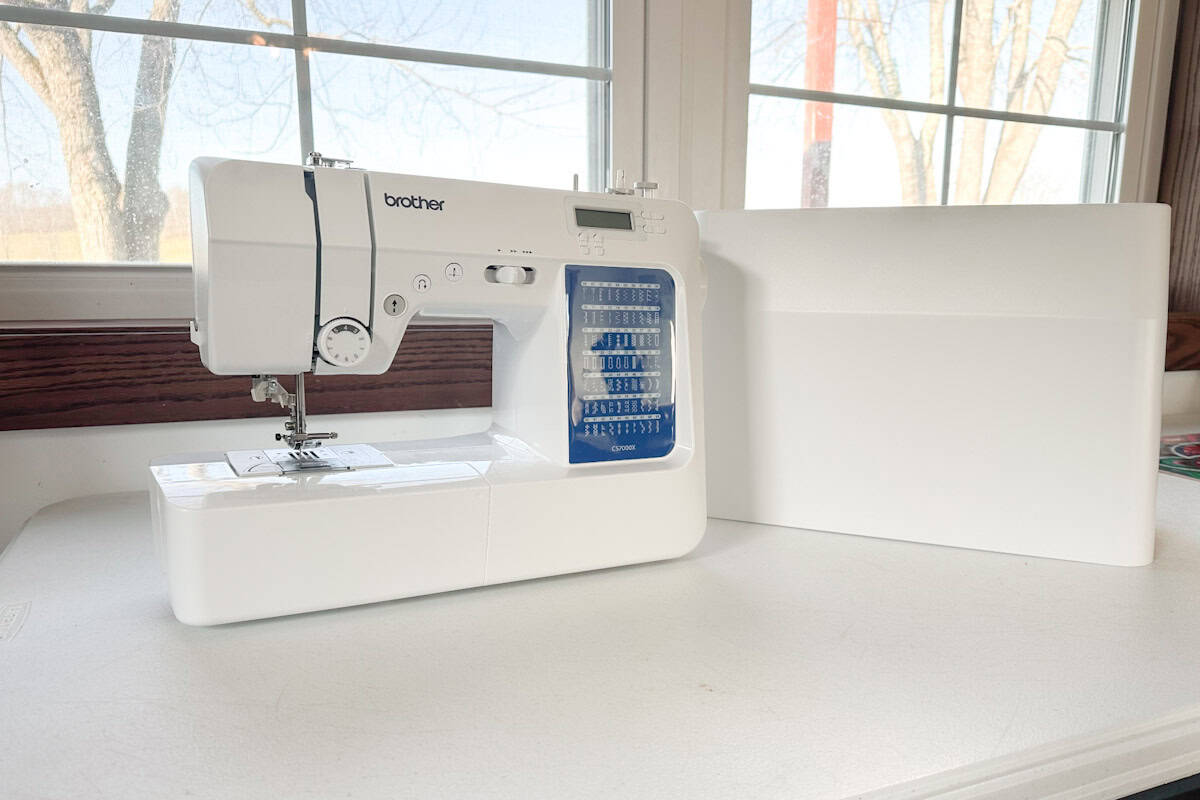
There are SO many options. Where to begin?? I did a lot of research on the different machines out there, looking at the ones that are suitable for beginners. However, I knew I wanted a machine that had some advanced capabilities for future sewing projects, namely quilting.
What was I looking for? I was looking for a machine that had multiple stitch options, most basic machines cover the necessities, however, I knew I wanted a button hole feature, as well as a zig zag stitch and zipper foot. I also was looking for a machine within a specific price point. My budget was around two hundred dollars. And so I landed on a Brother CS7000X, brand-new, off of eBay within my budget. You can also find it here.
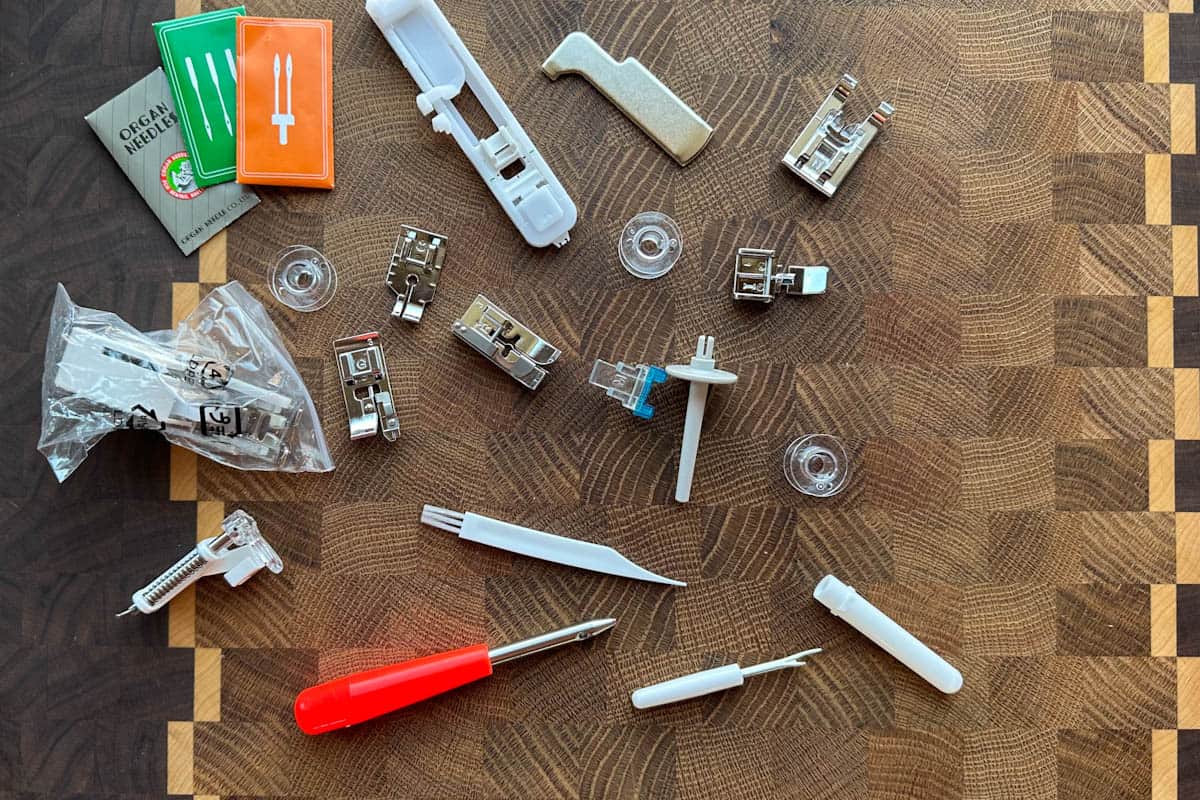
It came with a bagful of accessories, several different feet, a seam ripper, a couple bobbins and spare needles. It also came with a comprehensive machine instructions and a quick get-started guide to winding your bobbin and threading the machine. I can adjust the speed of my stitching and length of my stitch easily and, after using it for a couple projects, I’m really happy with it!
Step three: purchase your supplies.
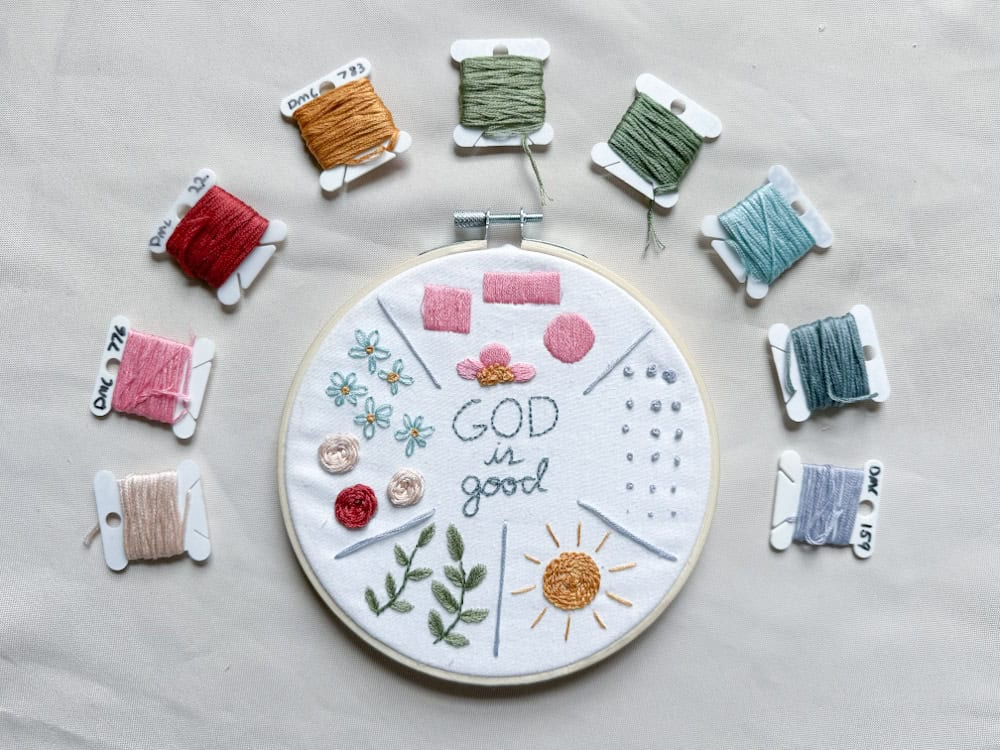
I think we can agree, this is the fun part. Pattern and supply list in hand, drive to your local craft store and ooh and ahh over the fabric. Select the things you will need to complete your specific project. For example, I needed ribbon, fabric, thread, and embroidery floss.
Step four: cut your fabric according to the pattern instructions.
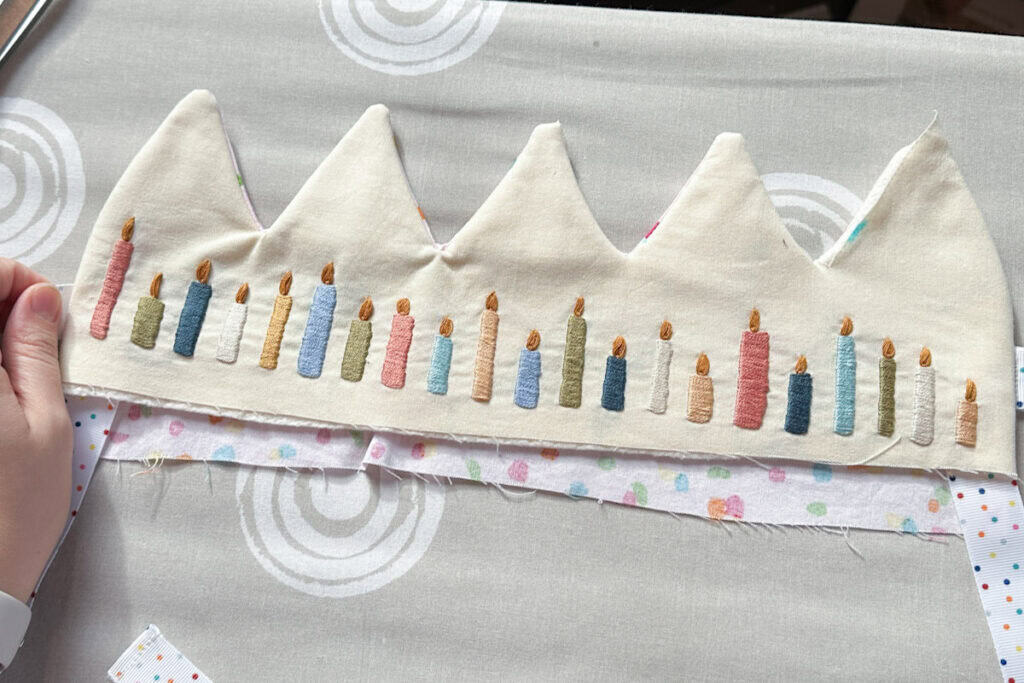
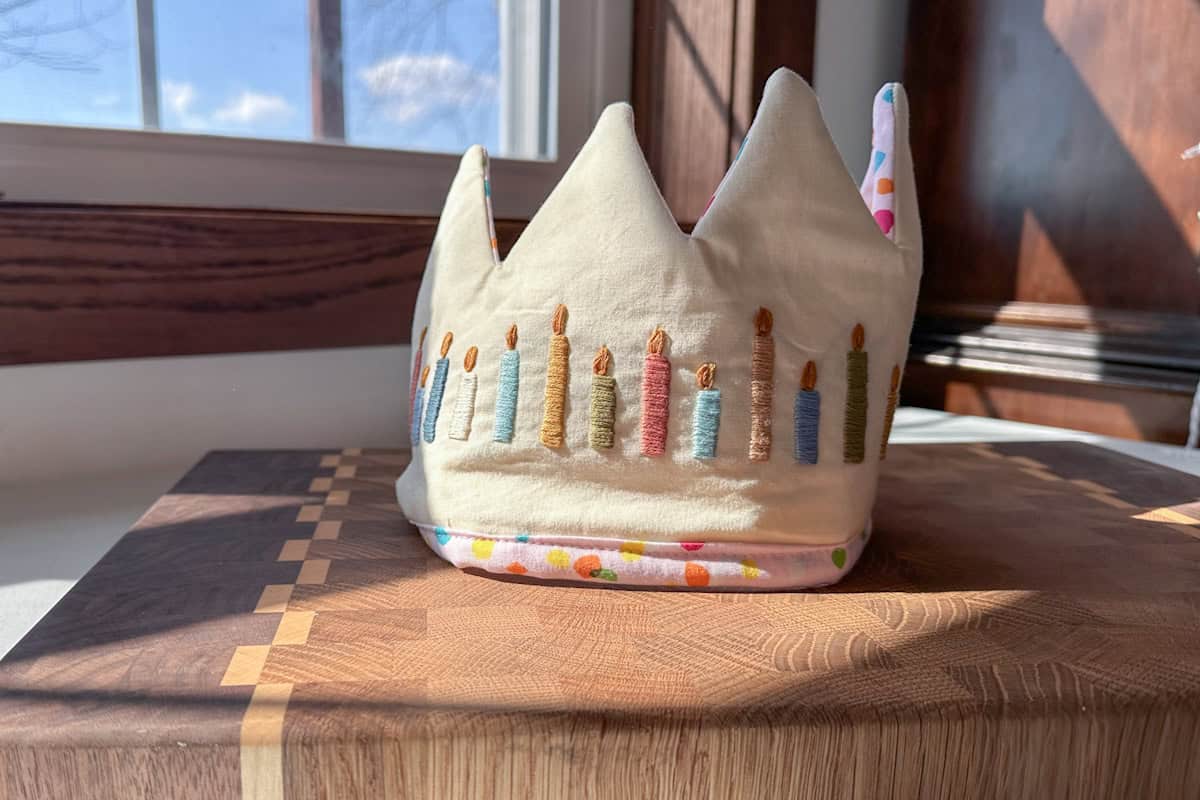
Pay attention closely to the instructions! For one of my first projects I was sewing a birthday crown anddd, well, I assumed I knew what I was doing. Cue the facepalm. The crown did not need to be cut out and thus I cost myself a lot of precious time and had to start over completely.
Step five: get to know your machine.
I really recommend going over your user manual for your machine and just familiarizing yourself with the features and options and what they are. My machine tells me what foot I need to change it to, per the stitch option I chose, which is super handy. The stitch length adjustments are also really easy to use as well. This shouldn’t take you more than fifteen minutes, but it is well worth your time!
Step six: wind your bobbin.
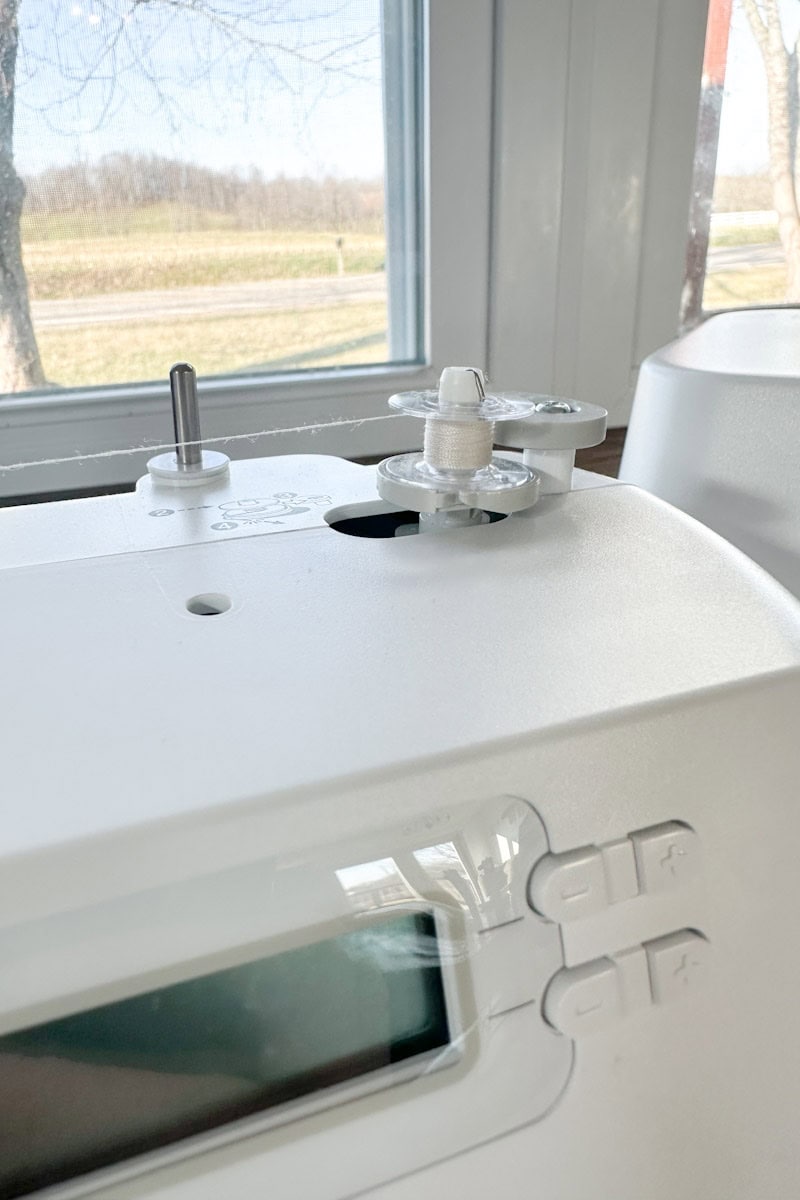
Once you’re acquainted with your machine and your project is ready to sew, it’s time to set up your machine for use! Get out your thread of choice and get the end started.
This was actually harder than I expected it to be and I wrestled with it for too long. So, let me save you some time…
Check for the notch on the end of the spool and peel up the label on the end of the spool. If it’s not there, then run your fingernail along the top until it comes loose. Now you may proceed following the machine instructions for winding your bobbin thread and then after, installing the bobbin.
Step seven: thread your machine.
Again, pay close attention to your machine’s instructions. It’s usually straight forward, follow the numbers! That said, I struggled to get this particular thread to catch on my hook. Pull the length of the bobbin thread and top thread a few inches behind your needle and hold while you manually turn the knob on the right for the needle to catch the bobbin thread.
Now you’re ready to start! It’s important to follow your pattern instructions closely, even skimming through everything before you begin. You don’t want to make assumptions (like I did). And anyway, perfection is not what I’m working toward. I’m proud of myself for not giving up, for doing it over again, and for giving it my best. I can only improve from here!
Step eight: start sewing.
We did it! You have learned how to start sewing. It’s time to dive into that project and have fun. No matter what mistakes you make along the way, don’t give up! Failure is a learning opportunity and refines your skill set. The birthday crown I made was far from perfect, but I know it will be well loved by my family. Each sewing project I make brings me closer to the finished look I want for the next project.
What project should I tackle next? An apron? Doll clothes? Or maybe I should get a head start on those Christmas stockings. Tell me in the comments!!
Also, sign up for my free newsletter to stay up-to-date with all my projects!
I want to get better at sewing so bad! This has encouraged me to start back up again! For the summer I want to sew my 2 boys matching overalls from my husbands old jeans.
So excited to hear that! That sounds so adorable.
That birthday crown is adorable! Thanks for the breakdown for us beginners! Sewing is definitely something I’d like pick up.
It’s easier than it looks! And you retain the skills, kind of like riding a bike. Thanks for the comment!