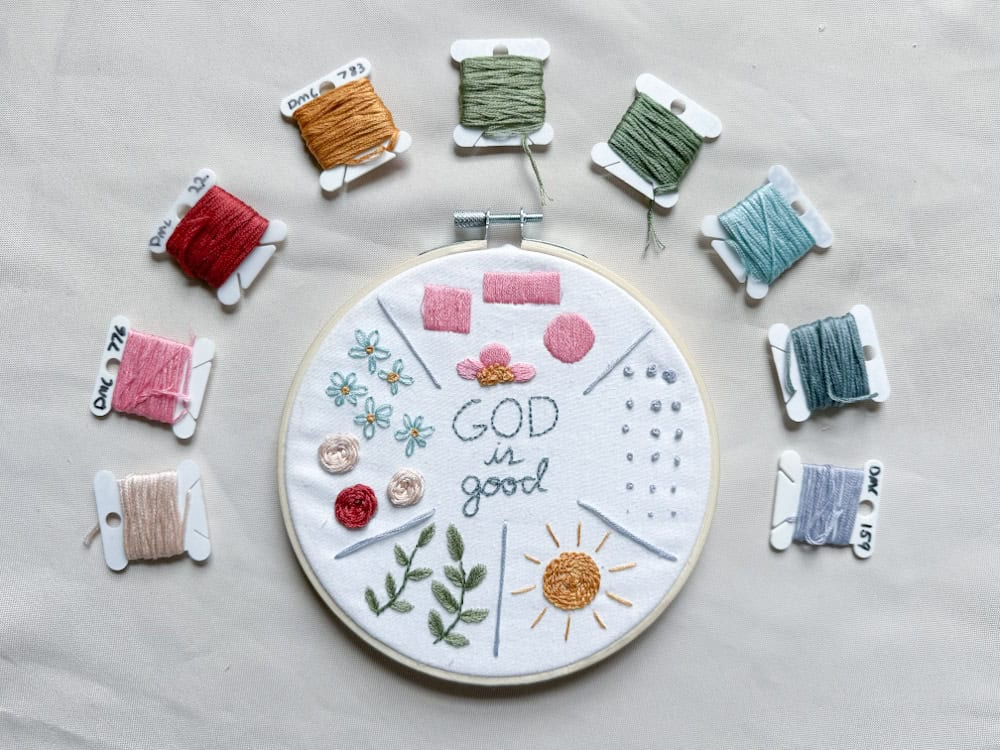
Easily Transfer Your Pattern & Set Up Your Embroidery Hoop
I’m testing the basic methods of how to transfer your pattern to fabric: tracing, printing, and stick and stitch. We’ll break down pros and cons to each as well as the nuances of each method. Once we transfer your pattern and it’s ready to go, I’m going to show you how to set up your hoop so you can start stitching ASAP!
This post may include affiliate links, as an Amazon Associate I earn a small commission from qualifying purchases.
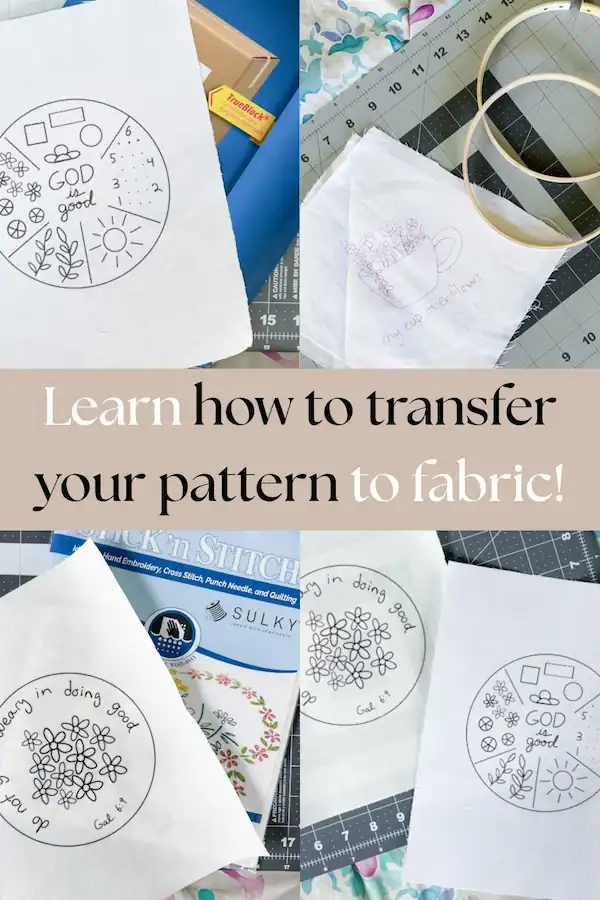
Method 1: Tracing
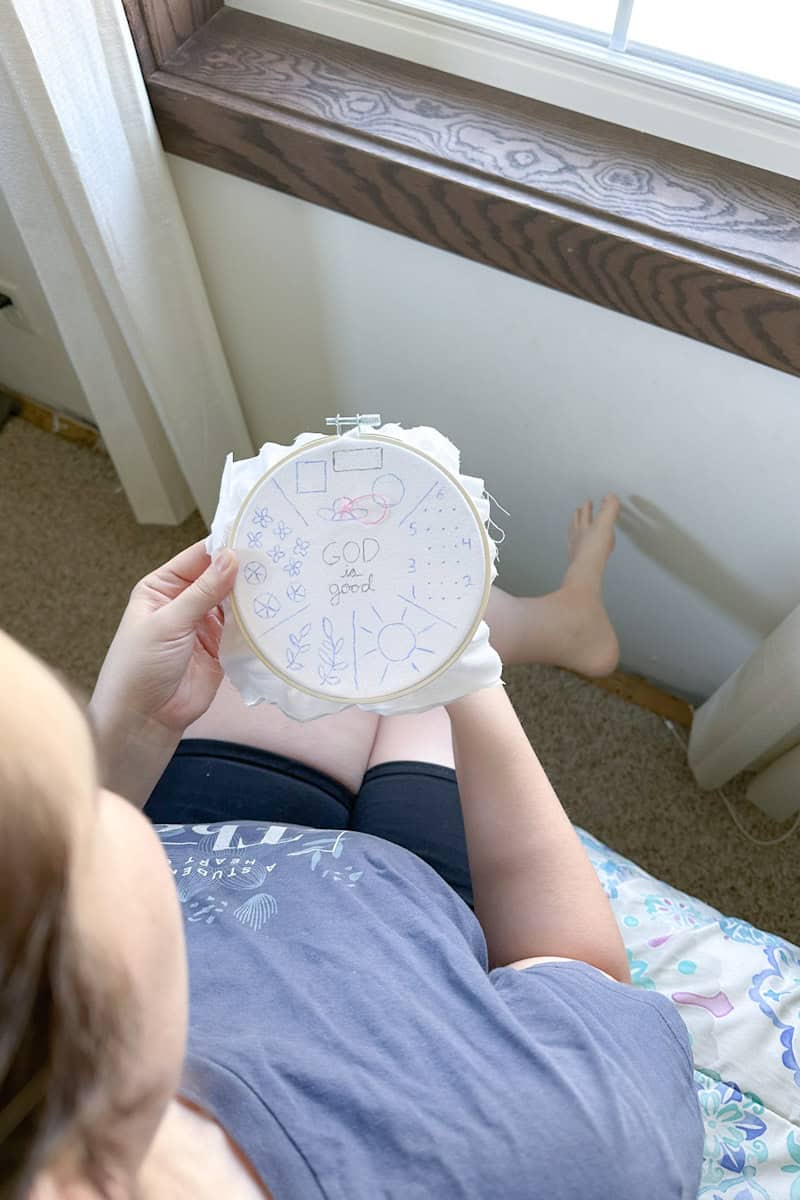
All right let’s get right into it starting with tracing. This is a basic way to get started and the primary method I use to transfer your pattern to fabric. All you need is your pattern printed out, your cut fabric square, a heat soluble pen (here’s my favorite), and a light source. I’ve heard it said that the frixon pen can leave a residue that’s visible but if so, in my experience it hasn’t been noticeable. I’ve completed many projects using it on white fabric, and that may or may not make a difference.
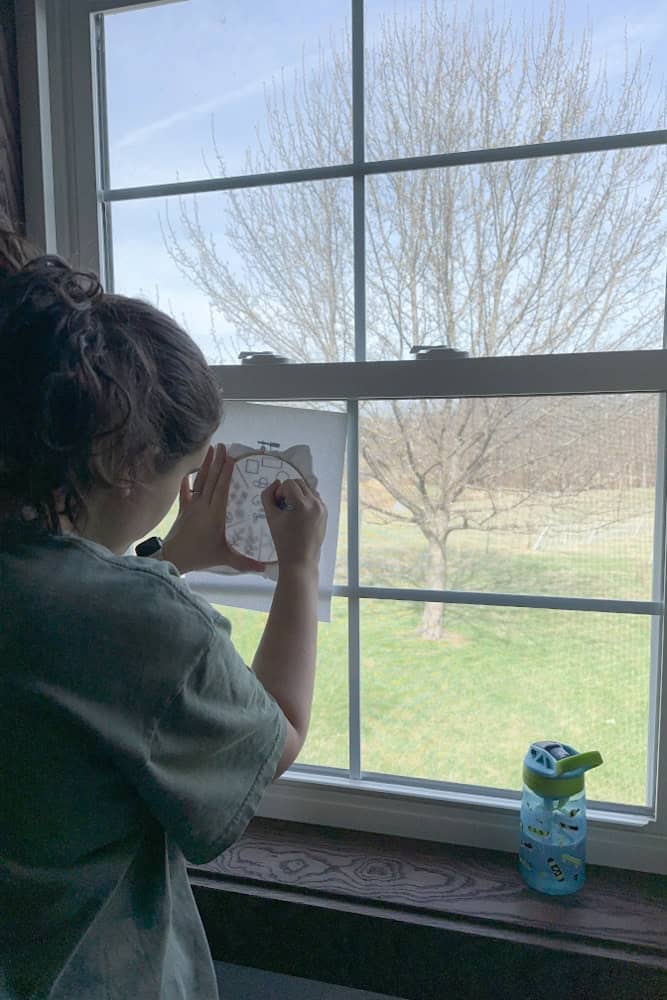
The pros to this method are that you can use a window or a light box app on an iPad to help you see the pattern through the fabric, no special equipment needed. The pen is affordable and will last through several patterns. I personally look forward to sitting down to trace a pattern. The attention to detail as I trace is something I enjoy. As this quickly became my favorite hobby, I did purchase a light-box specially for tracing patterns.
The cons would be that using a window is awkward for the arms/wrists when tracing. Additionally, it’s important to take your time. Some stitches need to be in a precise shape, like satin, and if your tracing is off it will be harder to make your satin stitch look nice. So pay attention to those details! Those with shaky hands would not likely opt for this method.
Method 2: Stick and Stitch
This method is very easy. Simply place your stick and stitch printable page in your printer according to your printer’s instructions and print! You can then cut your design down to size and place on your prepared hoop. There are a few caveats we will address in a moment.
With the stick and stitch, you can embroider as usual and then when your piece is done simply rinse your fabric under warm water and (very gently!) massage around the stitching to remove.
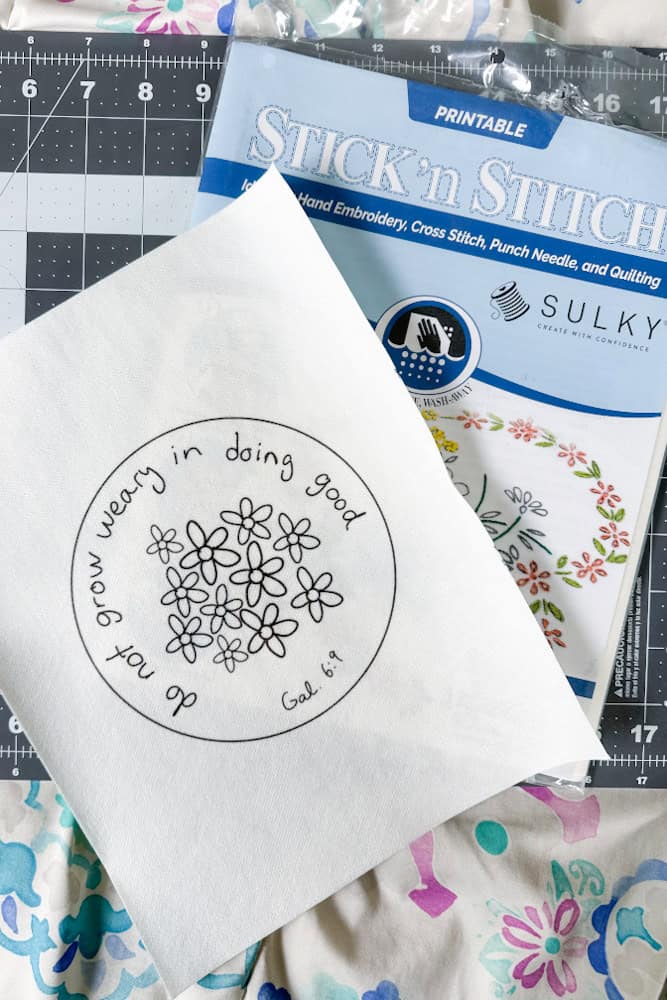
Pros to this method is the stabilizer makes it an ideal way to add personalization to clothing, to bags, hats, etc! Your pattern is printed so no tracing necessary, and all your shapes will be perfect.
Cons to using this method to transfer your pattern is that they don’t work well with raised stitches such as a wagon wheel stitch or french knots. Rinsing the stabilizer off can make these stitches loose. I’ve also seen where using a stick and stitch can cause wrinkling after it’s rinsed off. So if you’d like to use this method to transfer your pattern, choose your designs carefully.
Method 3: Directly Printing
I’m really excited to try this method out. I’ve been too much of a cheapskate to buy the Avery labels before now. The process is also surprisingly elementary and very similar to the stick in stitch but there is more work involved. I totally messed up my first attempt so let me help you get it right the first time!
Start by prepping your fabric (it shouldn’t be cut to size yet). Iron a portion of it, then get your label out. Remove the back of the label and place it on your fabric. I put mine as close to the edges I could to minimize waste! Then cut your fabric to fit the label– this will help it print smoothly.
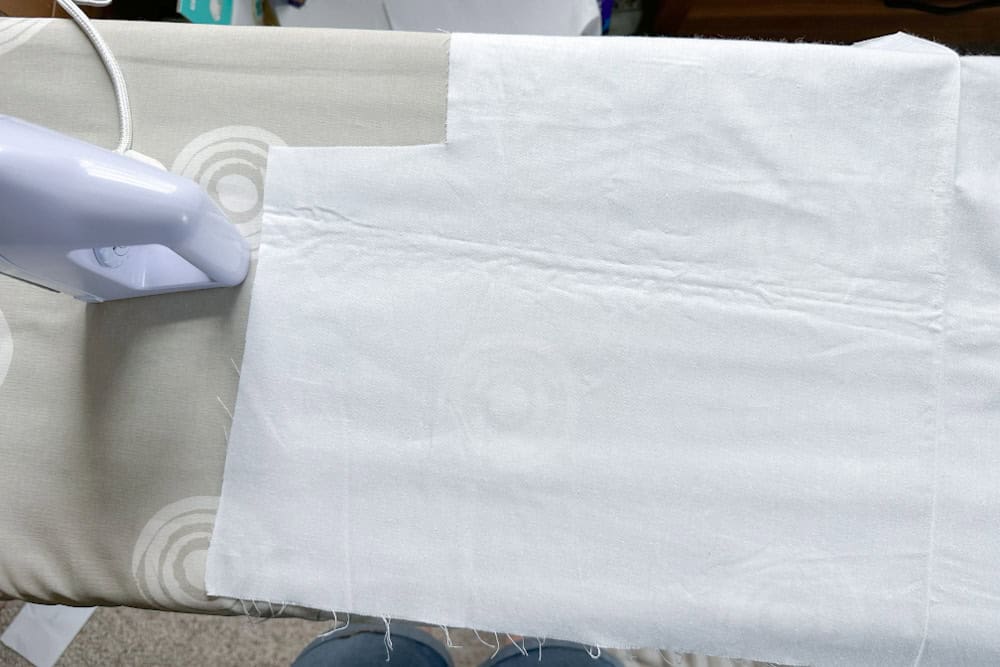
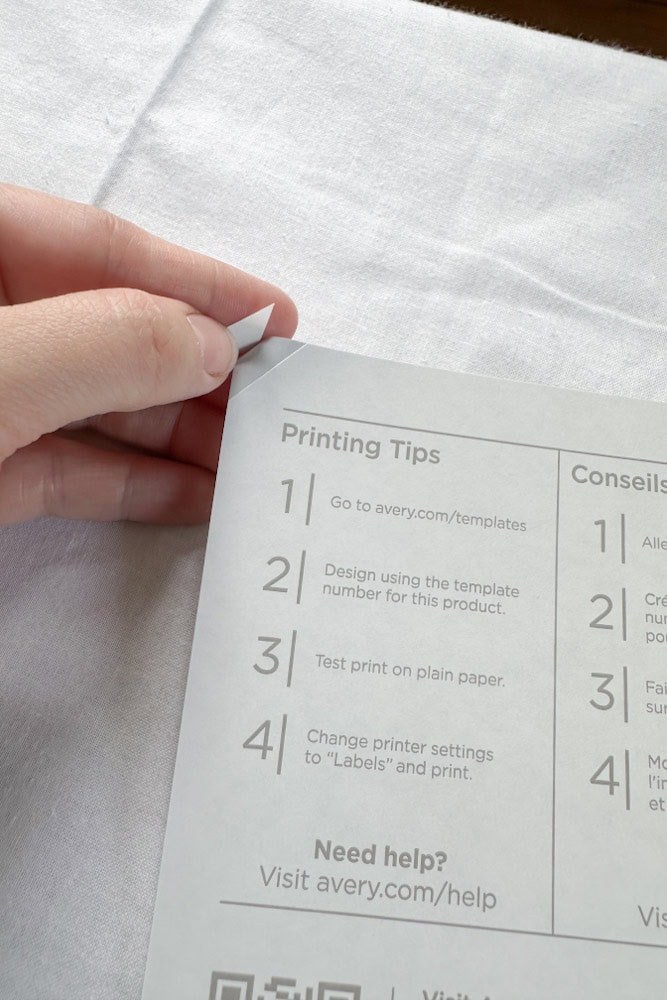
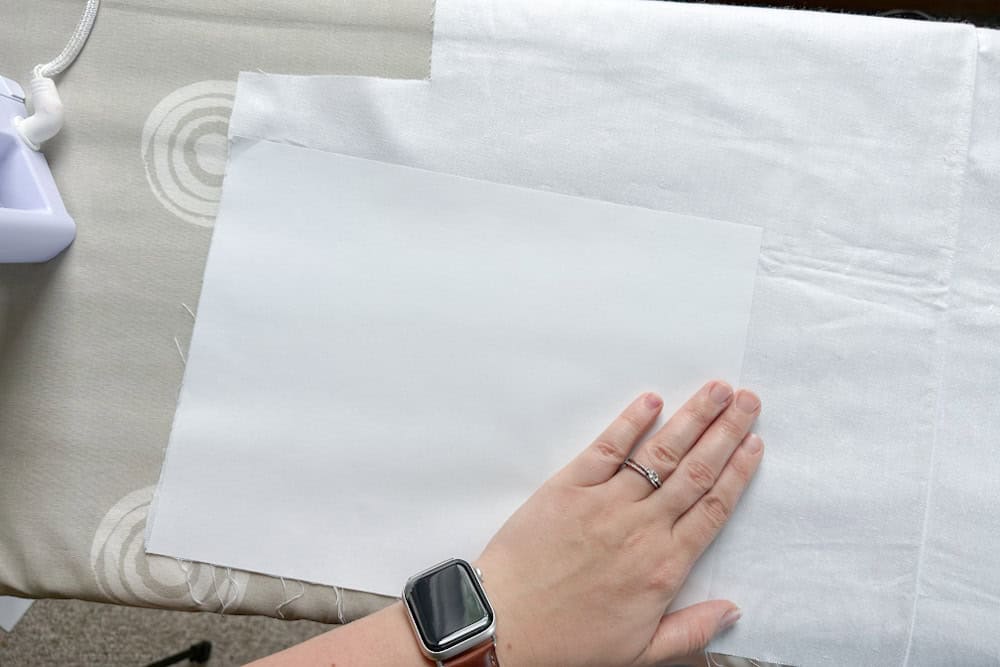
Once the edges are trimmed, place it in your printer according to how it draws the paper up and you’re ready to go! Print, then you can remove the label (save it for another use!), and trim your fabric down to fit your hoop well.
A pro for printing directly on your fabric is there’s no washing you’ll have to do! Or likewise, for complicated or intricate designs, printing gives you a perfect pattern whereas tracing may not be as precise. It’s straightforward and easy!
However, one of the cons of this method is that you must learn to cover the lines. They’re permanent! This, for me, is tricky. I have to be intentional to remember that as I go. If you don’t cover the lines, they can appear slightly shadowed around the design, which isn’t ideal. Another con to me is the additional fabric waste in order to run it through the printer.
Setting up your hoop
However you chose to transfer your pattern, now it’s time to get that pattern in your hoop so we can start stitching. I prefer to cut my fabric to a 9″x 9″ square before it goes into the hoop. And I like to use two pieces to help stabilize. Try to keep your pattern in the center when you trim it and then you can move it into your hoop.
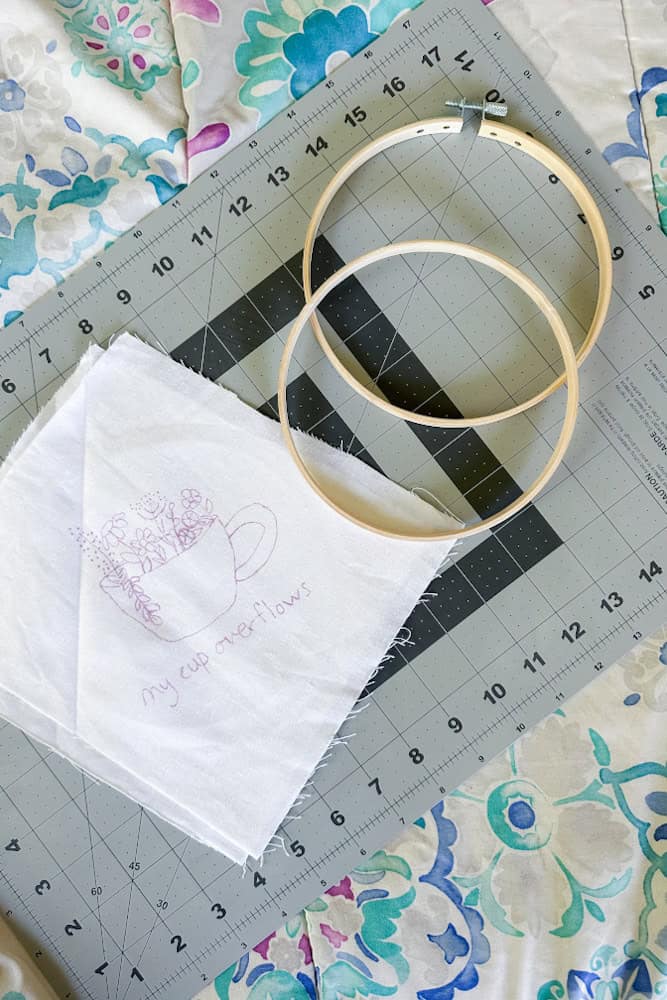
Loosen the screw securing your hoop (some require a screwdriver to loosen) and separate the two pieces. Lay the fabric on top of the inner ring and place the larger ring on top. Tug at the edges of your fabric until your pattern is in the center and then you can start tightening the hoop. While tightening, I will pause to tug on the fabric on all sides to get it taut. It should sound like a drum when you tap it with your finger.
On this note, I want to encourage you that it’s normal to tighten your fabric every few stitches. If it’s loosening faster then your hoop may not be the best quality. I know I’ve run into some cheaper, bamboo hoops from Amazon that just were not great at holding the fabric. While they’re a little more expensive, I got one like this with my hoop stand and I love it. It holds the fabric very well!
Happy Stitching!
Congratulations! You now know how to transfer your pattern. Experiment with the different methods and decide what works best for you! I’m still a fan of tracing, but directly printing onto fabric may a convenience I take advantage of more in the future! Especially now that I have the supplies for it.
Have you ever hand embroidered before? If not, I have the perfect post to help you to get started. Download my FREE stitch sampler below, in which you’ll learn the nine basic embroidery stitches! Build your self confidence, learn a new skill, and gain a hobby all at the same time! You won’t regret it.