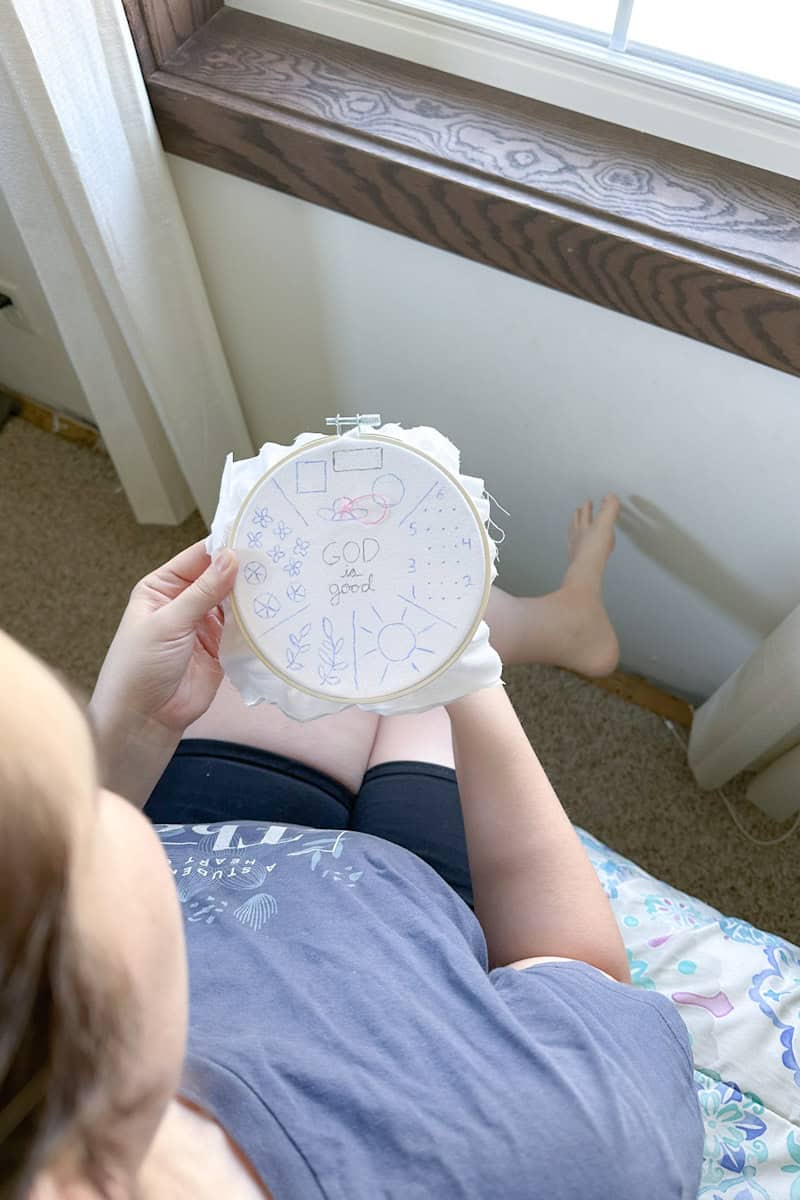
Learn 9 Basic Embroidery Stitches with this FREE pattern!
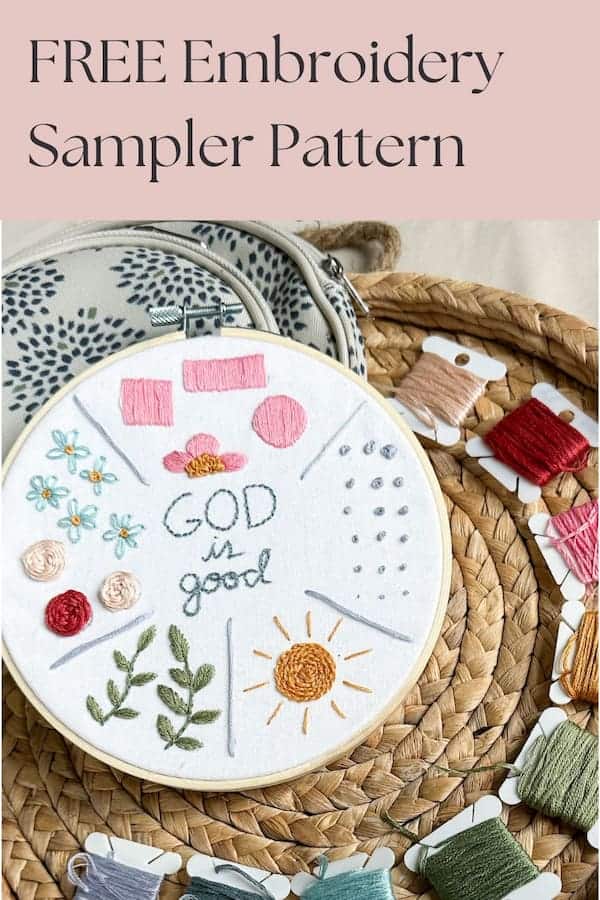
In this post, we’re going to cover nine basic embroidery stitches using my FREE Stitch Sampler pattern (link below). I remember how intimidating each new stitch was, so I’m here to simplify hand embroidery and to make you fall in love with it too. Use the table below to navigate to the stitches you struggle with the most and be sure to click through to my Youtube Channel to watch the video tutorials.
This post may include affiliate links, as an Amazon Associate I earn a small commission from qualifying purchases.
Why Learn to Hand Embroider?
I am a passionate enthusiast for hand embroidery. For a mother especially, hand embroidery is a wonderful way to slow down and be present, process a hard day, or to pray– if you’re a believer. In this fast paced world, I want to be on my phone less and present more. Often you’ll find me with my hoop or a book in my hands between the other various tasks I juggle.
There’s also something very satisfying about creating a piece of art with your hands and displaying it in your home, or gifting it! And hand embroidery is not limited to artwork for your walls. You can personalize an apron, onesie, socks, hat, shirt, tea towels, etc. It’s old-fashioned, yes but oh-so-fulfilling.
If you have small hands about and you’re worried about the needles, I found nap times or after bedtime to be my preferred time to stitch anyway. Less interruptions and fewer distractions.
Supplies Needed
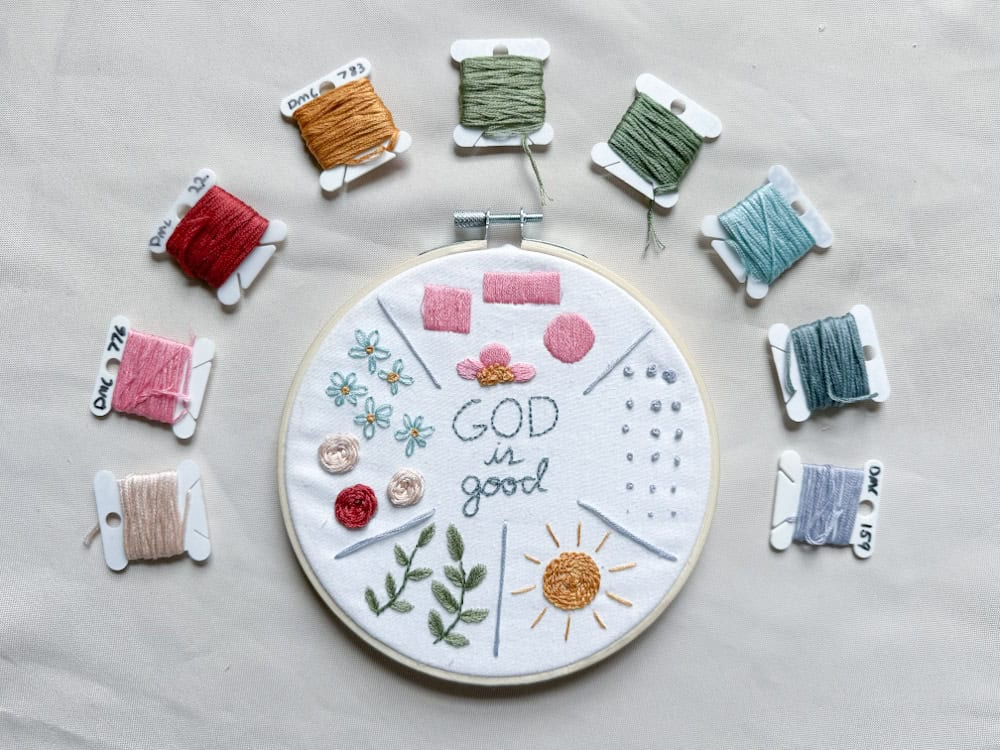
- 6″ embroidery hoop, I’ve linked one but please support your local craft store if you’re able!
- Size 5 and size 22 chenile needles
- Embroidery floss in various colors, recommended colors included in the pattern.
- Two white cotton fabric squares 9″x 9″
- Scissors, I do recommend embroidery scissors for their smaller size but any will do in a pinch.
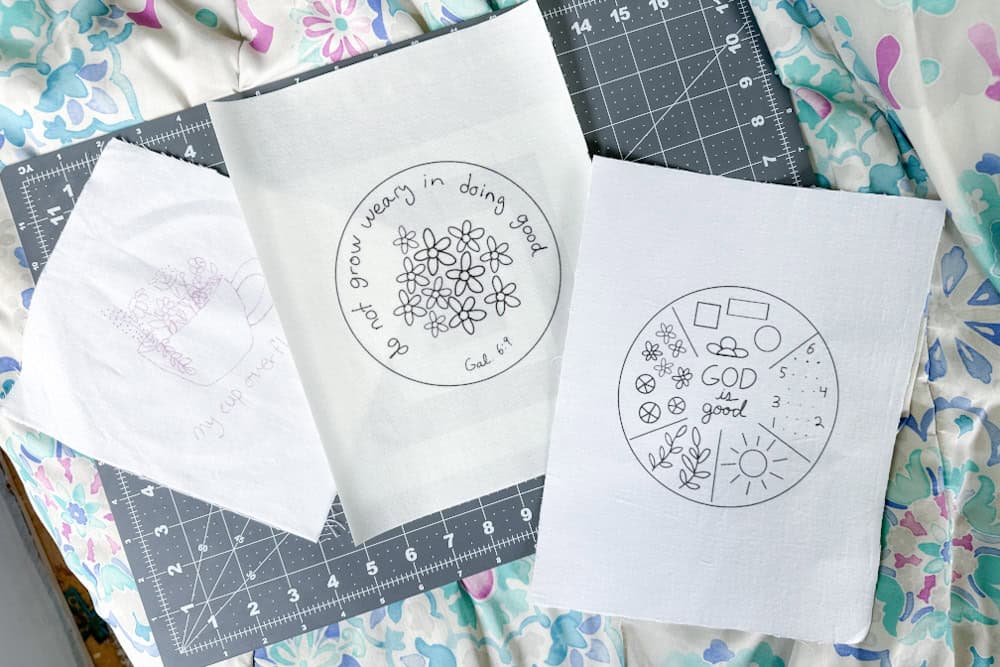
- A way to transfer the pattern to your fabric, the pattern includes instructions for three different methods. May need either an Avery shipping label, stick and stitch stabilizer, or a pilot frixon pen. (I am working on a separate post on this subject!)
- A way to store your floss such as bobbins and a organizing case are my preferred way and inexpensive at your local craft store.
- Optional, a hoop stand.
The 9 Basic Embroidery Stitches
Satin Stitch
This stitch is known for it’s intricacy and beauty! The only downside is that it requires precision and care. It’s not a stitch you can do passively- at least I can’t! Simply start in the top left corner and bring your needle back down directly beneath in the bottom left corner. Your stitches will be beside one another following the length of the square and likewise for the rectangle. Directions for the circle and flower petals can be found in the free pattern!
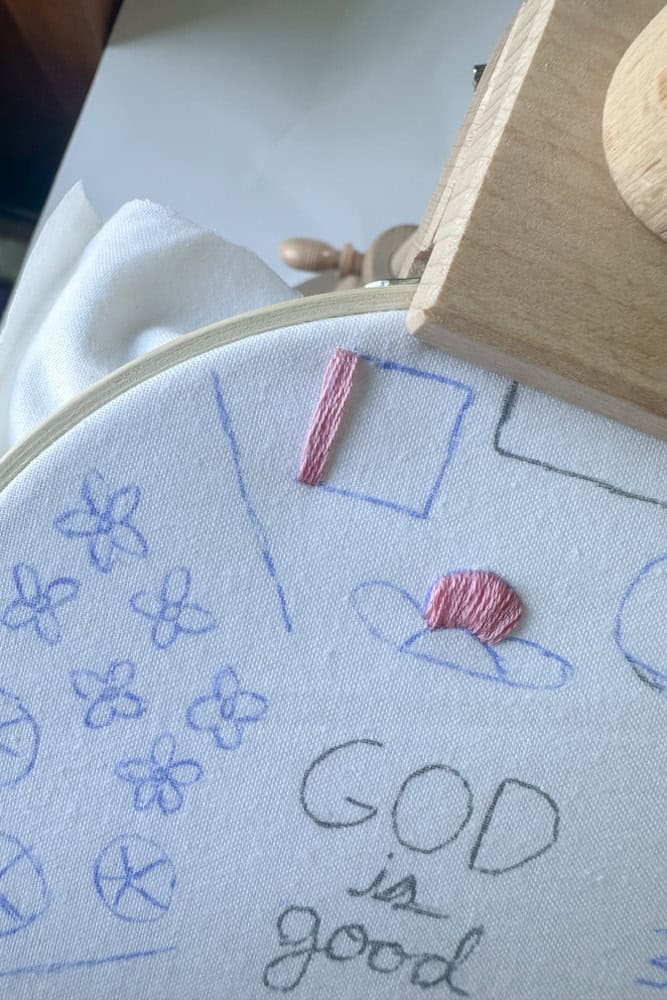
A satin stitch got its name from its satiny finish. It’s a great filler stitch when done properly, and it can add a lot of texture and beauty. For this pattern, I provided three different shapes to practice satin stitch on. I encourage you to slow down and pay attention to detail! This is a stitch I struggle to remember to cover the lines on, so be aware of that as you go.
My biggest suggestion is, keep your pattern lines tidy if tracing and watch the lines if you have printed your pattern (see my post on transferring your pattern here). If using a printed template, your lines will not disappear and need to be covered completely.
Back Stitch (and split variation)
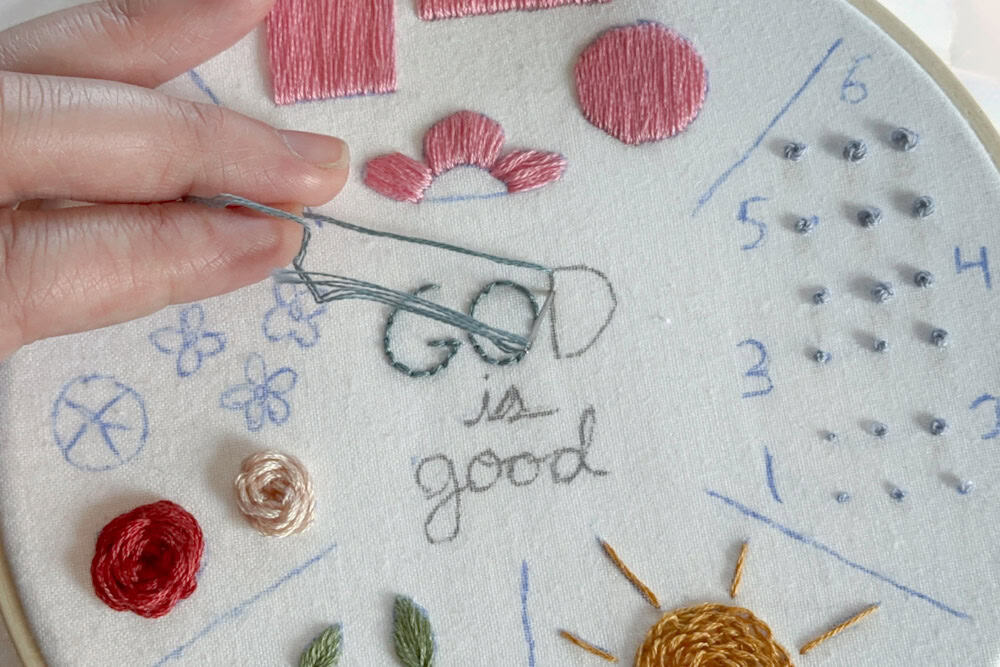
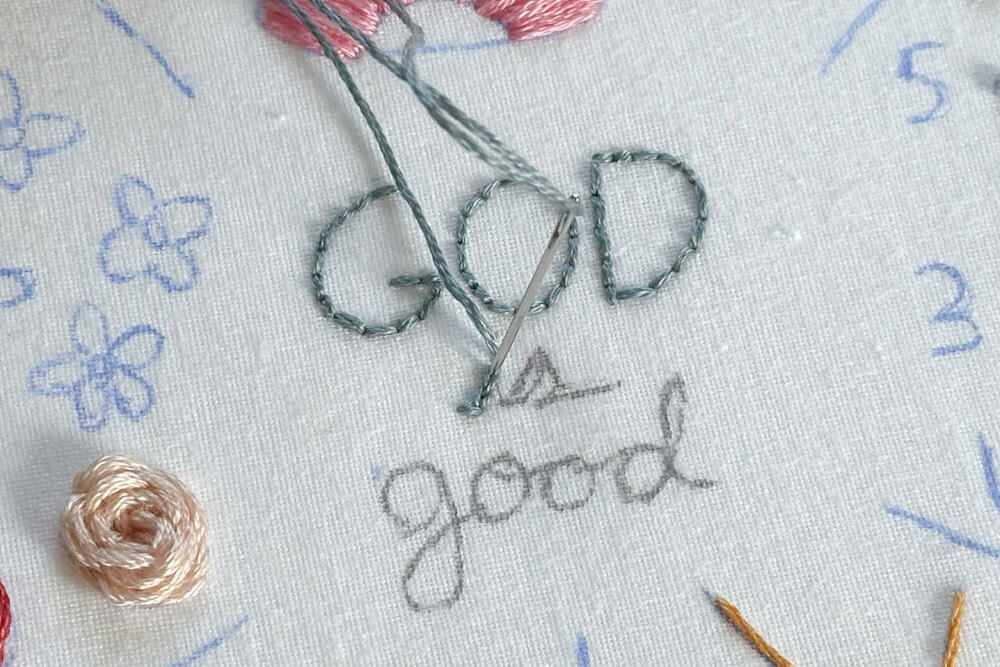
One of the most basic embroidery stitches! The back stitch and back split stitch are some of my favorite because I can shut off my brain and stitch away. Back stitch and back split stitch are often used for text. It’s easy to work with the curvature of letters with this stitch, simply make your stitches smaller as you curve. It’s best to take your time while doing text!
Simply put, you start your stitch whatever distance you’d prefer from the starting line–refer to the picture below–but work on keeping your stitches even! And then you stitch backwards to the start of the line. After that, you will stitch into the previous hole for back stitch, and into the stitch if it is a split.
Straight Stitch
This is arguably even more basic than the back stitch, so I won’t take much time on it. As the name suggests, it is a straight stitch from point A to point B. I see this stitch used for sun rays, to define a border, etc. This stitch is also used to define the sections of the sampler pattern.
French Knots
I see people online complain about this stitch quite a lot. But, never fear. You can learn french knots and do well with them with this important advice: don’t rush your knots! French knots are considered basic embroidery stitches because they’re used often for flowers or clouds in patterns.
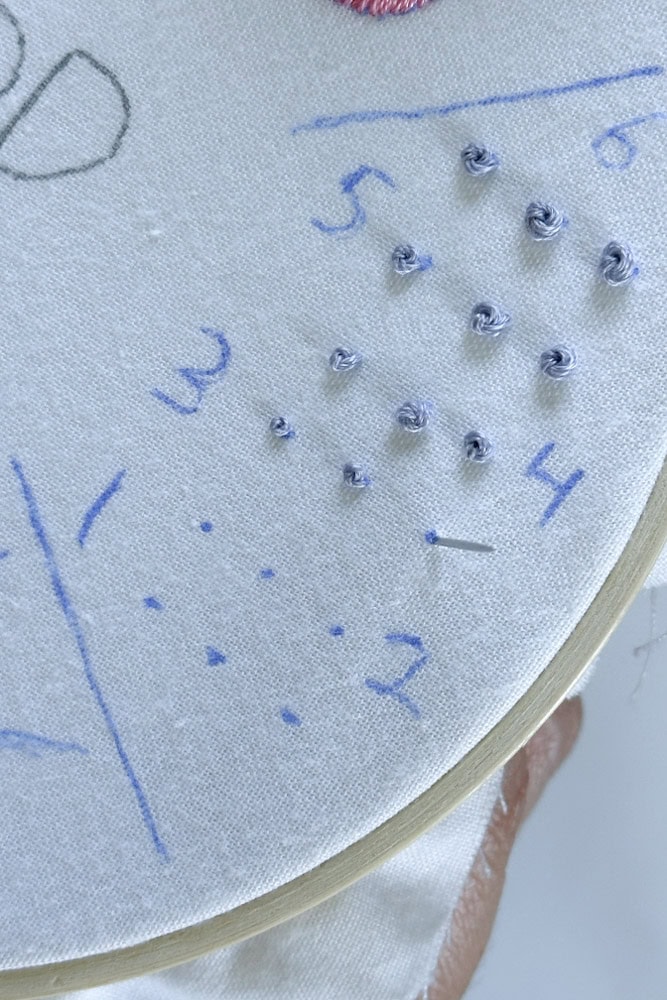
To make a french knot, you will come up on your fabric where you want the knot, wrap your floss around your needle the given amount of times indicated in the pattern, and then put your needle back through near where you came up but not the same place. Keeping gentle tension on your thread, you will slowly pull your needle through. See my video!
In my free pattern, you’ll find numbers beside a row of three dots. This is for you to practice using different strands of floss and different twists. I explain all of this inside the pattern, which you can download at the bottom of this post! This chance to practice also gives you a visual of what the different twists and strand amount can do for the look of the knots. Fewer strands or more twists gives a different look to the knot.
Chain Stitch
A chain stitch is similar to the lazy daisy with the exception that it continues in a chain formation, hence its name. I selected this stitch for the sun, as it gives a certain texture to it.
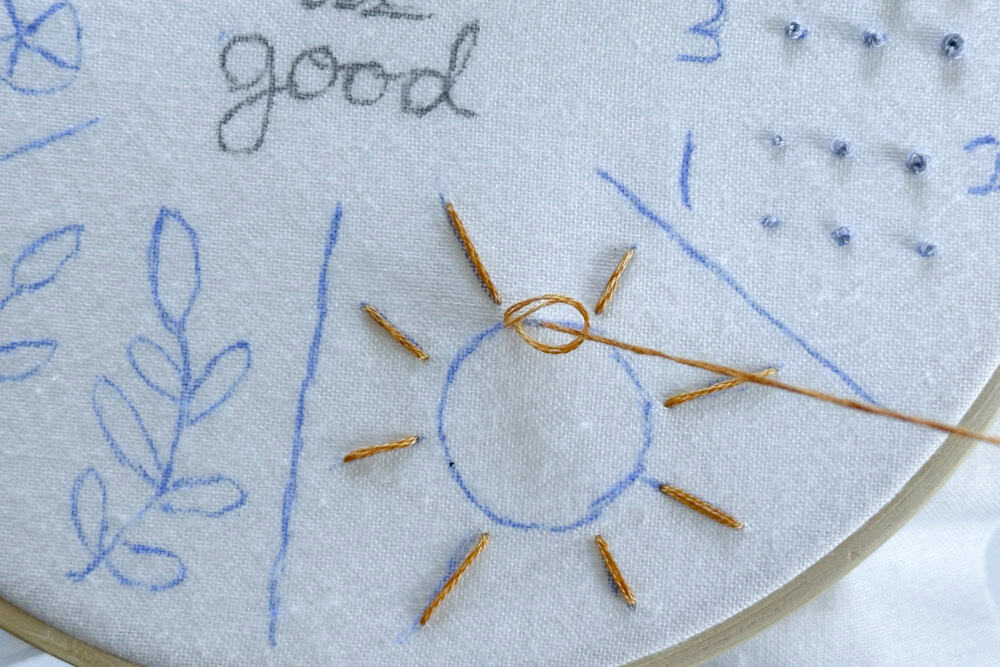
Starting along the edge, you will bring your needle up and your floss all the way through. Now, put your needle back down beside where you came up– but do not pull the floss all the way through. Leaving a loop, bring your needle back up a stitch ahead, through the loop you left, then pull it all the way through, closing the chain and repeat. With every stitch, try to keep your loops the same every time.
Fishbone Stitch
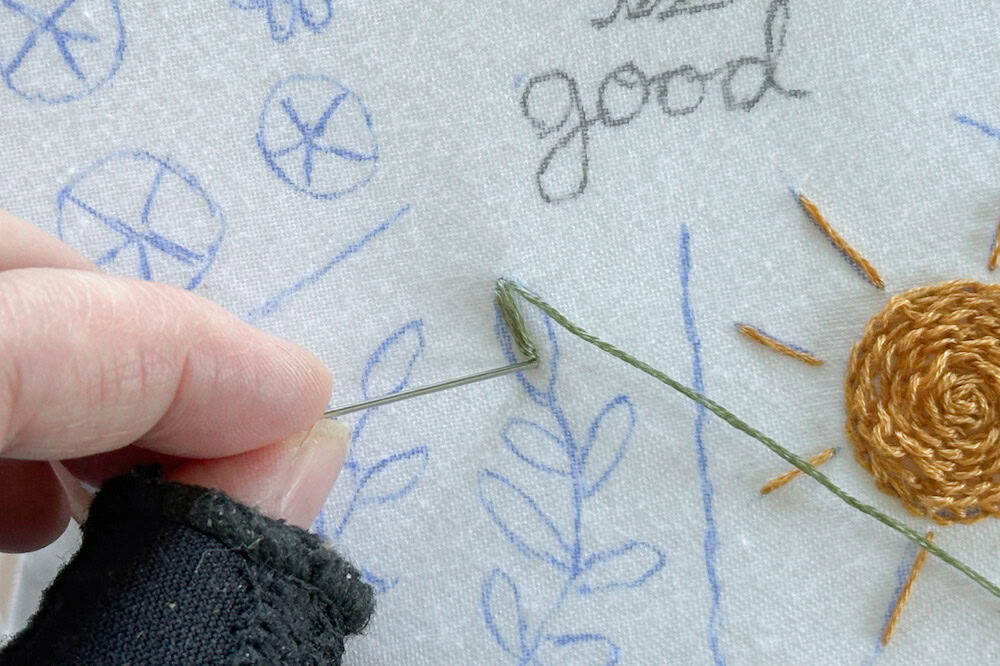
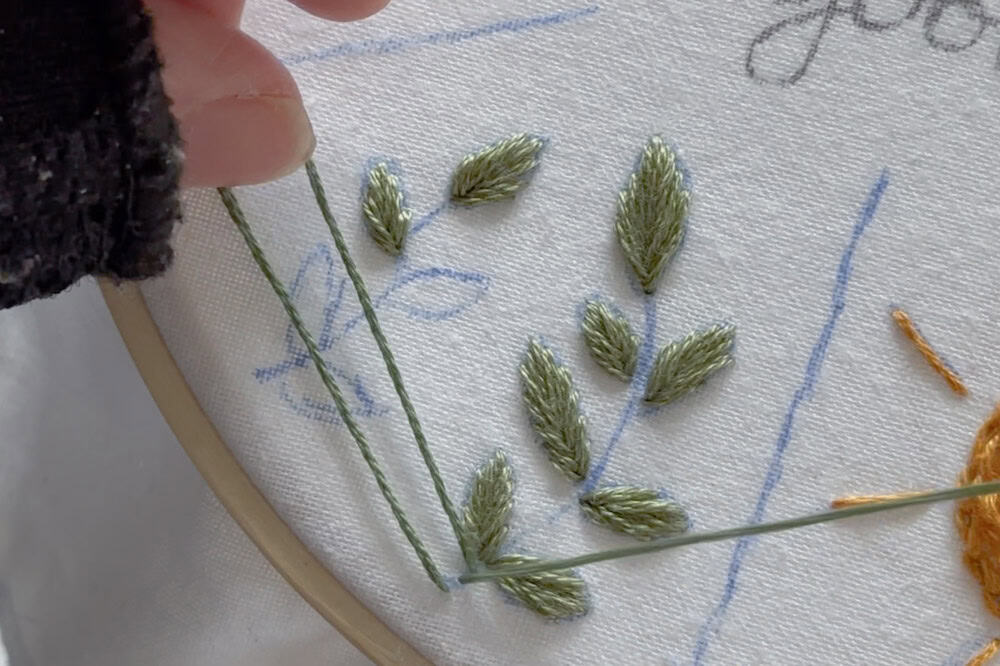
I love this stitch. It looks so very pretty and it’s an obvious choice for leaves. The pattern includes thirteen leaves to practice on! To make a fishbone stitch, start at the top point of the leaf and bring your needle down around one-third to halfway down the leaf. Then, bring your needle back up to the left of the point of the leaf and down again just below the line you created. Repeat by alternating left and right of the middle until the leaf is full.
Toward the end of the leaf you may need need to tuck stitches underneath a previous stitch or share a hole with a stitch if you run out of room. This stitch is considered one of the basic embroidery stitches for how often it’s used for leaves– it’s just beautiful!
Stem Stitch
This stitch is often used for stems for flowers, as its name suggests. It’s really a beautiful stitch, does well with curves, and can be used for more than stems. To make a stem stitch begin like you are making a back stitch but do not pull your thread all the way through. Leaving a loop, pull your needle back up through the middle of your loop and go to one side. Now pull tight. The side you pull your needle to doesn’t matter, however you need to stay consistent with each stitch pulling it to the same side.
Wagon Wheel (also known as Woven Rose)
I love this stitch. It’s the epitome of relaxation as I weave my thread around in a circle. You need to start with a minimum of five straight lines around your circle. Some patterns may leave an inner circle for some french knots to change the look of the flower, but I left it straightforward for this pattern.
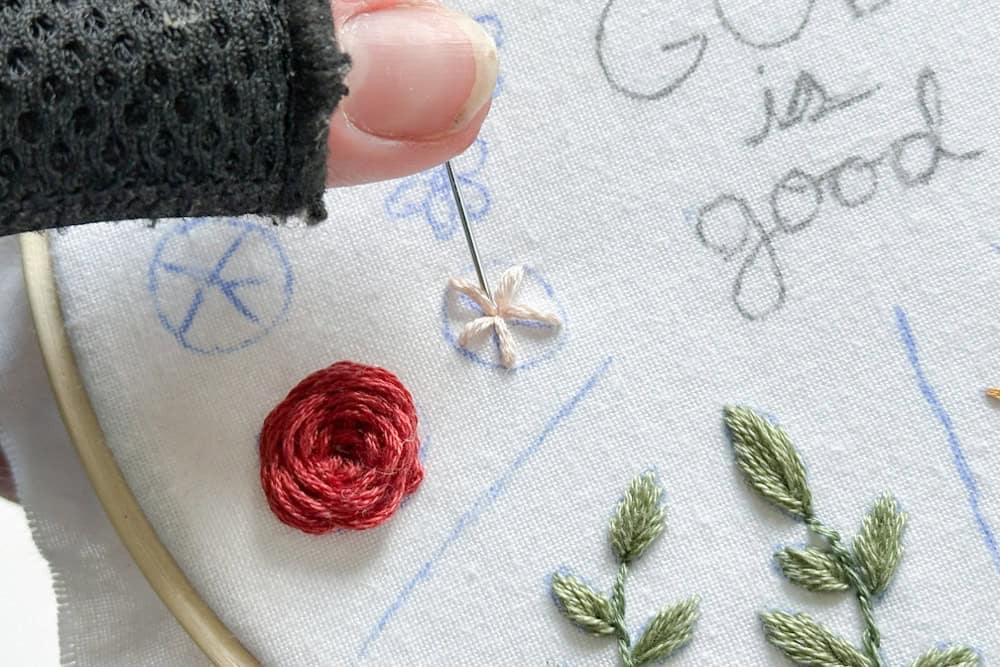
Sew five lines into the center of the circle. Next, bring your needle up near the center and immediately begin the weaving of over, under, over, under, over, etc. Don’t pull your thread too tightly! But keep it tight enough it looks like a rose. You’ll need a very long piece of thread for each. And if you are running out prematurely, send your needle “under” and down. Tie off and begin where you left off with more thread. You’ll know you’re done when your lines are covered. Find a spot to tuck your exit.
Lazy Daisy
This stitch is reminiscent of a chain stitch, but instead of continuing on, you are anchoring each stitch. It’s a lovely way to add some simple flowers to any design, and looks like a daisy petal! To make this basic embroidery stitch, come up where you want the base of your petal to be and come back down right beside it, leaving a loop. The loop should be the a little bigger than the size of your petal. Bring your needle back up through at the tip of the petal, pull through and then anchor it by stitching the loop in place. Repeat for as many petals as needed.
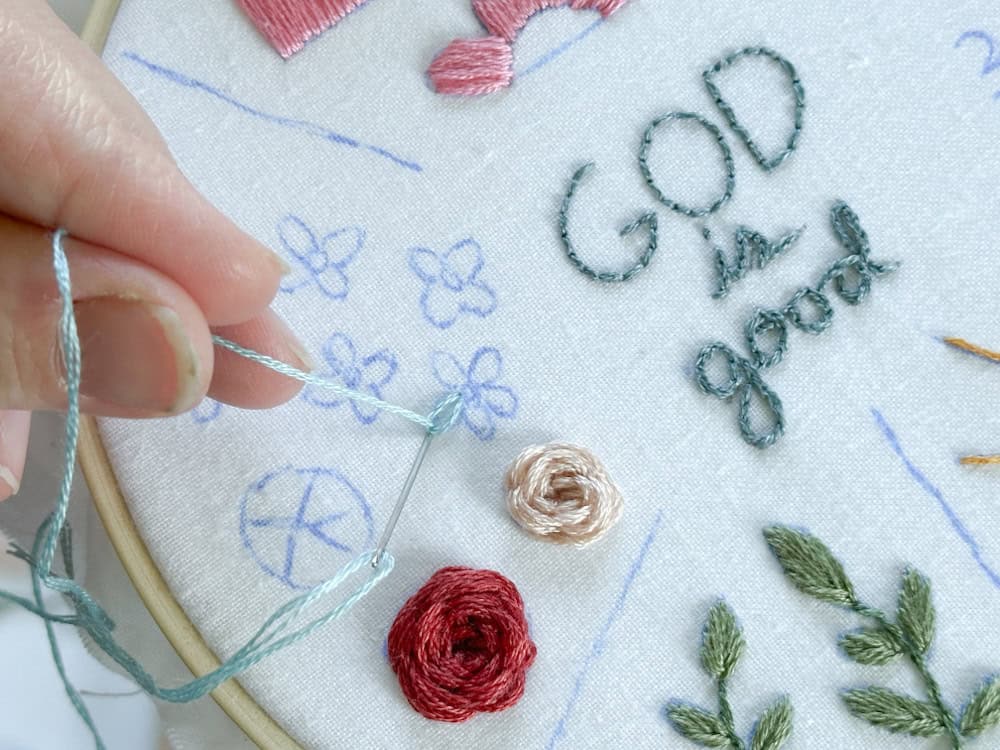
To finish the flowers in this pattern we will add some french knots in the centers. When we’re done, I’m going to go right over to my satin stitch flower and fill in the center with french knots too.
Download the free pattern and learn these basic embroidery stitches!
I hope this pattern simplified these basic embroidery stitches for you! Please remember, perfection isn’t the goal. I intentionally designed this sampler pattern with repetition to give you the most practice. That said, I hope you find hand embroidery brings you a sense of peace as you go. When I’m feeling stressed I love to sit down with my current project and listen to an audiobook or worship music. It’s calming and helps me refill my cup.
I’m working on more patterns that, Lord willing, will be made available later this year. Happy stitching!